How to Clean a Gaming Keyboard
Learn how to maintain your keyboard with regular cleanings.

Learn how to clean your gaming keyboard with our step-by-step guide. Read tips for maintaining performance and ensuring a clean gaming environment.
Gaming keyboards can take quite a beating during intense gaming sessions, accumulating dust, grime, and even food particles. These keyboards are not only an essential tool for achieving peak performance but also a reflection of your gaming setup. However, a dirty keyboard can lead to performance issues, reduced key responsiveness, and an overall unpleasant gaming experience.
We’ll walk you through the step-by-step process for cleaning your gaming keyboard to ensure it remains in top condition, both aesthetically and functionally. Let's get started on restoring your keyboard to its former glory!
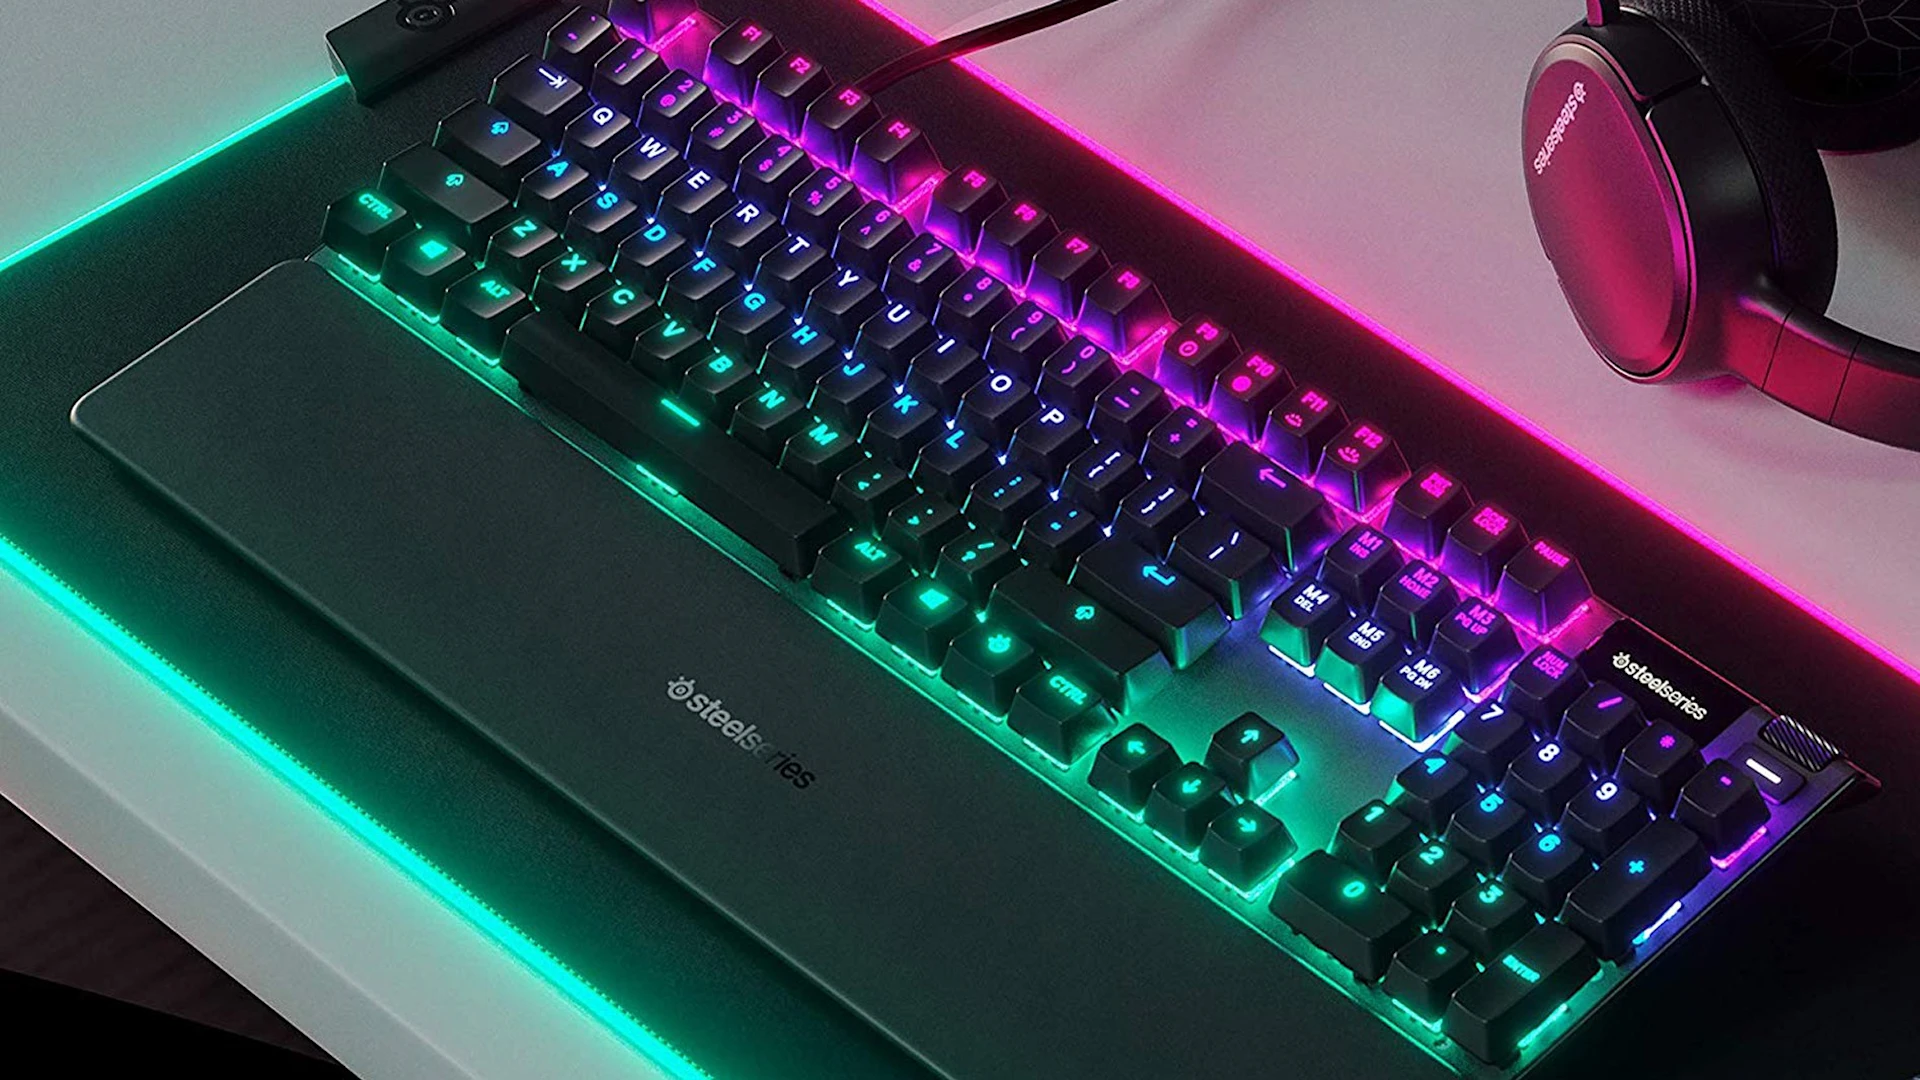
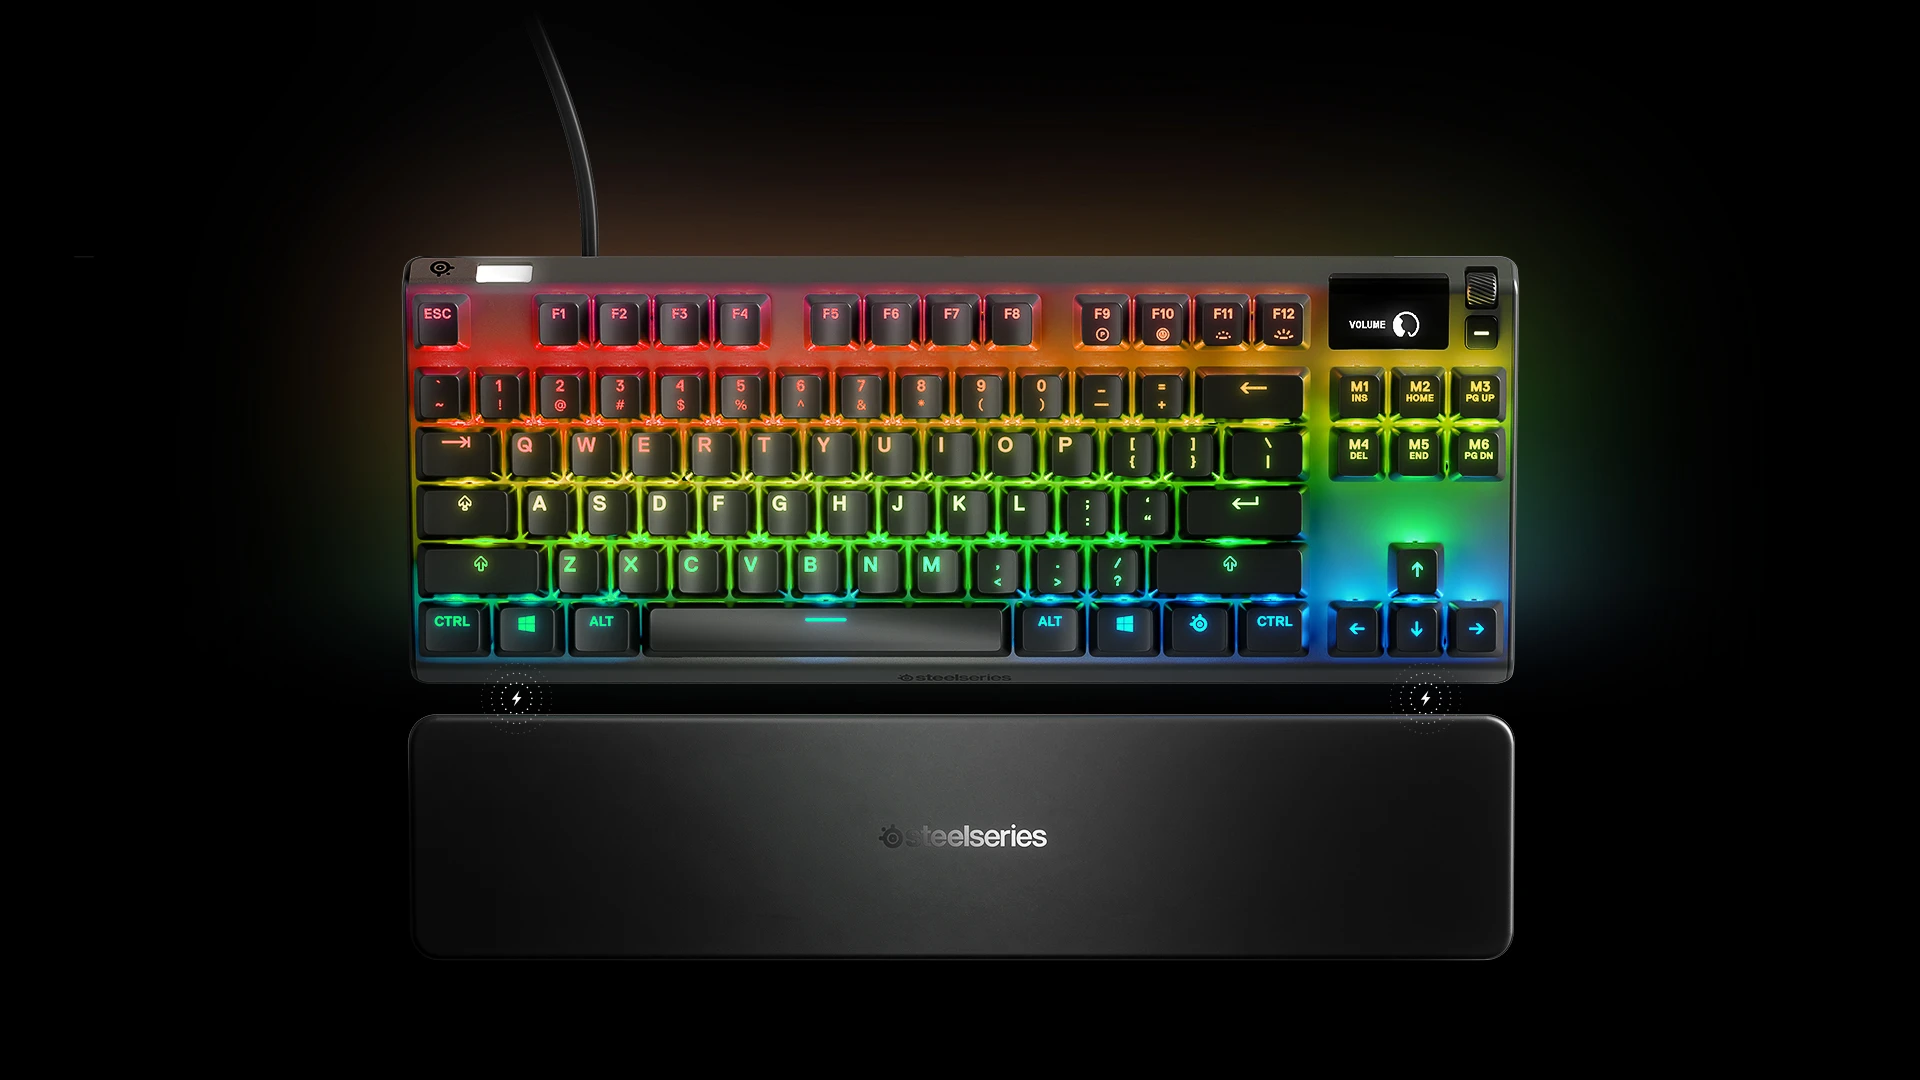
Ready for an upgrade? Make room for the SteelSeries Apex Pro TKL Gen 3. With high-performance features and RGB lighting, it’s the perfect companion for any gamer and is built to last
Why Clean Your Gaming Keyboard
Cleaning your gaming keyboard is important for both preserving its functionality and improving your gaming experience.
Keyboard maintenance improves performance by keeping the keys responsive and preventing issues like sticky or unresponsive keys caused by dirt or debris buildup. It ensures a smoother gaming experience, especially during long sessions. It also promotes better hygiene, reducing the buildup of germs and bacteria, particularly if you eat or drink near your keyboard.
Regular cleaning also improves its appearance, keeping it fresh and clean, and can help prevent key wear by removing oils and grime that could damage the keycaps over time. Lastly, it contributes to the longevity of your keyboard, keeping the switches and mechanical parts functioning properly and extending its lifespan.
What You’ll Need
Before you get started cleaning your keyboard, whether you’re doing just a light wipe down or a deep clean, here are some things you’ll need:
Dust Blower: To blow out dust and debris from between the keys. We do recommend a dust blower over compressed air.
Microfiber Cloth: For wiping the surface of your keyboard without scratching it.
Cotton Swabs or Q-tips: Useful for cleaning around the keycaps and in tight spots.
Isopropyl Alcohol (70% or higher): For disinfecting and cleaning sticky or greasy spots.
Keycap Puller (optional): Helps you remove keycaps if you want a deeper clean. Our Apex Pro keyboards include these!
Soft Brush (optional): For brushing out dirt from hard-to-reach areas.
Dish Soap and Water (optional): You’ll need this if you plan to remove the keycaps and give them a soak for a deeper clean.
How Often Should You Clean Your Keyboard?
Gaming keyboards are expensive, so it’s important to do regular maintenance to keep it nice and functional for as long as possible. Here are our suggestions for how often you should be cleaning your gaming keyboard:
1-3 Months: Basic Cleaning
A light cleaning about every 1-3 months using the dust blower or a microfiber cloth to remove dust and debris is a good habit to keep your keyboard in top shape.
Six Months to One Year: Deep Cleaning
If you spend long periods using your gaming keyboard it’s a good idea to do the occasional deep cleaning. And if you eat or drink around your keyboard or have pets roaming around, aim for a deep clean every one to three months.
When to Clean More Often
If you notice sticky keys, dust buildup, or something spills on your keyboard (like food or liquid), try cleaning your keyboard immediately. Additionally, if you smoke or work in a dusty environment, clean it more often to keep debris from building up. I have two cats which add plenty of cat hair and dust onto my keyboard!
Steps for Cleaning Your Gaming Keyboard
Here are some key steps to ensure you’re getting rid of grime and maintaining functionality:
1. Turn Off Your Keyboard
Before you start cleaning your keyboard, you must ensure that it’s turned off to avoid messing up the mechanics. For wired keyboards, disconnect it from your computer. For wireless keyboards, turn it off with the power switch, usually found at the back of the keyboard, to prevent accidental key presses.
2. Remove Loose Debris
To remove loose debris, you can use compressed air. Point the compressed air canister between keys to loosen the grime. Alternatively, if you don’t have compressed air, simply flip your keyboard upside down and gently shake it to dislodge larger pieces of dirt.
3. Remove the Keycaps (Optional)

If you’re planning on doing a deeper clean, use a keycap puller to remove the keycaps from the switches so you can thoroughly clean the space underneath your keys. To use the keycap puller, place the two prongs under the edges of the keycap. Make sure it's centered so the prongs are under the keycap evenly. Then, gently pull up on the keycap puller to lift the keycap from the switch without causing damage.
We strongly recommend investing in a keycap puller to prevent damage from manually trying to take off your keys. However, if you don’t have a keycap puller, use a flat tool (like a small flathead screwdriver or plastic spudger) and insert the tool gently between the edge of the keycap and the keyboard switch. Then, gently twist or pull to pop off the keycap. For larger keys like the spacebar, enter, or shift, you can use your fingers. Gently lift the keycap by applying pressure at opposite corners.
4. Clean the Keycaps
If you remove your keycaps, you can also give this a thorough cleaning without having to worry about damaging the mechanical features. Soak the keycaps in a bath of warm, soapy water for a few minutes.
After they’ve gotten their bath, use a soft brush (like a toothbrush) and gently scrub any dirt or grime off the keycaps. Afterward, rinse and dry the keycaps thoroughly before reattaching them to the keyboard. Use your microfiber towel to ensure you don’t scratch them.
5. Tidy Up the Keyboard Surface
To disinfect your keyboard’s surface, lightly dampen a microfiber cloth with isopropyl alcohol (70% or up) and wipe down the keyboard to clean any remaining oils or grime.
6. Clean Between Keys
If there are any remaining pieces of dirt between your keys, go in with a cotton swab dipped in isopropyl alcohol to clean hard-to-reach areas around the switches. You can also use a soft brush for detailed cleaning.
7. Reassemble Your Keyboard
Now that your gaming keyboard is all cleaned up, it’s time to reassemble. Once everything is dry, carefully reattach the keycaps by snapping them back onto the switches.
8. Do One Final Wipe Down
The last step before you're done is giving your gaming keyboard one final quick wipe down. Use a dry microfiber cloth to remove any remaining moisture or streaks.
After these steps, your gaming keyboard should be clean, fresh, and ready for use!
Maintaining Your Gaming Keyboard
Remember that different keyboards may require different cleaning techniques, so always reference the manufacturer’s guidelines. The effort you put into cleaning your keyboard will pay off through improved performance and aesthetics. Make cleaning your gaming keyboard a regular part of your maintenance routine, and enjoy a smoother, more enjoyable gaming experience.
Wordsmith at SteelSeries. Enthusiastic about Dota 2 and fighting games. A cat dad.