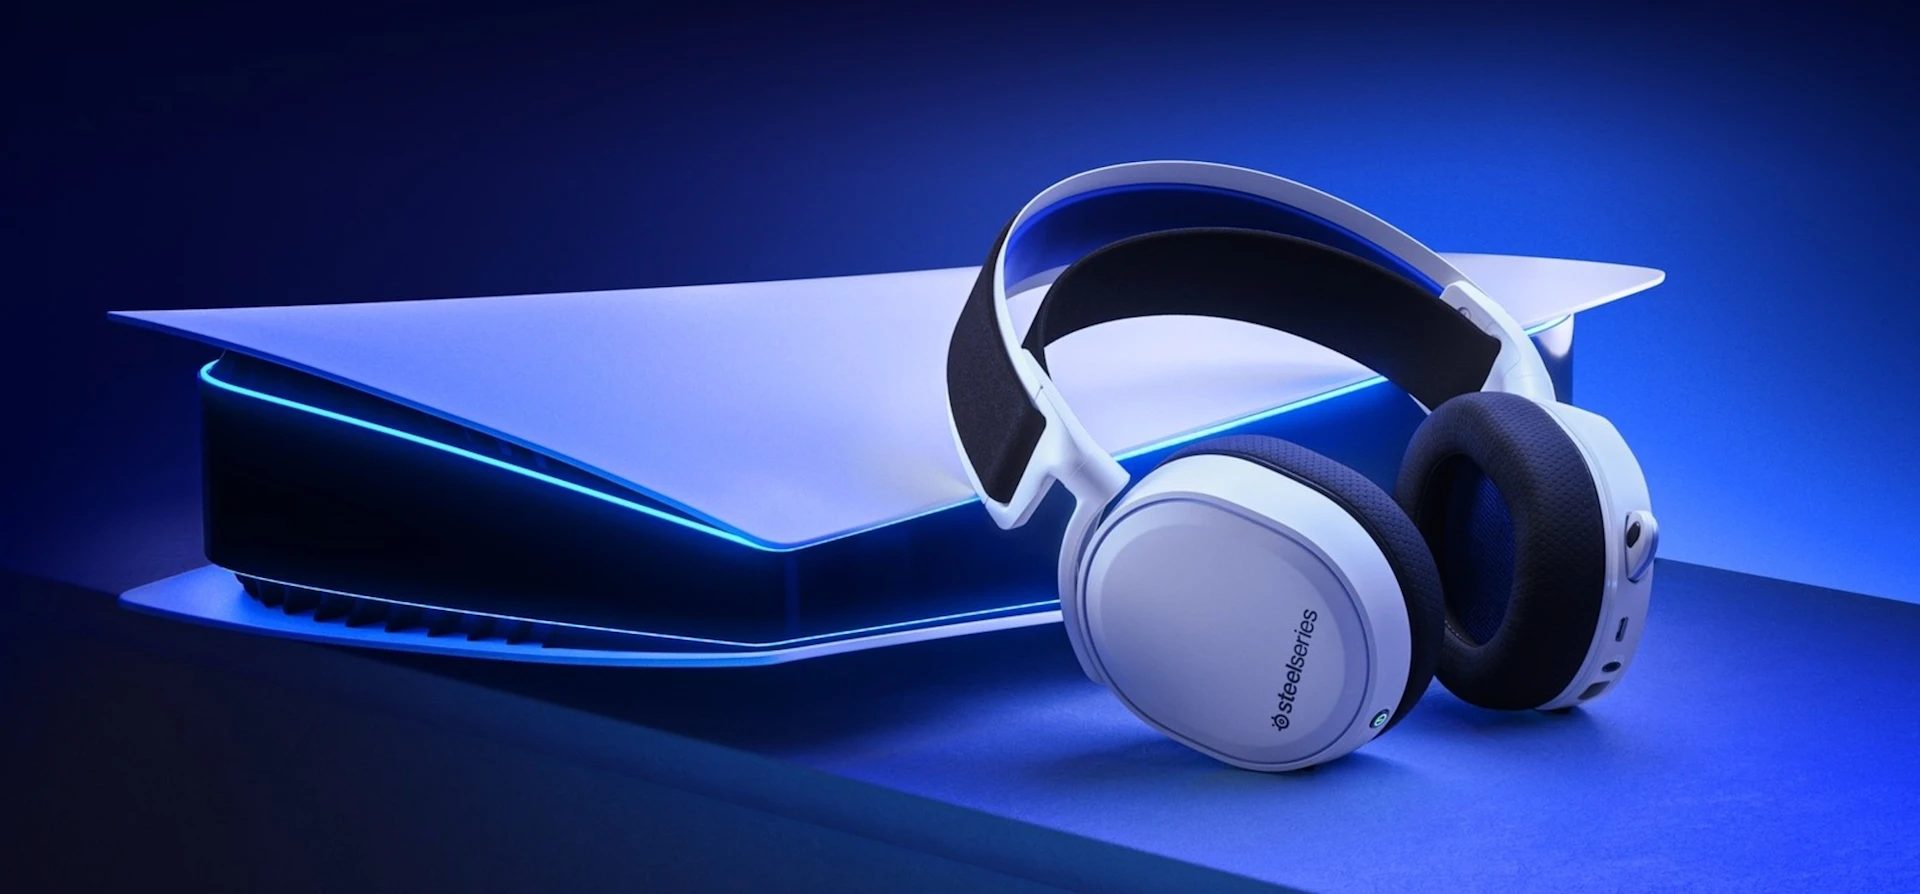
Connecting Your SteelSeries Arctis Headset to the PlayStation 5
Use your SteelSeries Arctis headset with your PlayStation 5.

Learn how to connect and configure your SteelSeries Arctis headset on the PlayStation 5.
Did you just pick up a new SteelSeries Arctis headset? Get one over the holidays and just aren't sure how to use it with your PlayStation 5? We've got you covered.
In this video, we'll walk through how to connect and configure your SteelSeries Arctis headset on the PlayStation 5. We will be covering setup for the Arctis 1 Wireless, Arctis 7P, Arctis 7, Arctis 9, Arctis Pro Wireless, and Arctis Pro + GameDAC.
How to connect your SteelSeries Arctis headset to your PlayStation 5
Before connecting to the PS5, it's a good idea to make sure you have the latest firmware for your headset. Download and install the SteelSeries Engine software on a PC or Mac, and connect your headset to check for available updates.

All Arctis wireless headsets, as well as the GameDAC, connect to the PS5 via USB, but there are a few different methods, depending onyour exact headset.

For an Arctis 1 Wireless, Arctis 7P, or Arctis 7X, you can connect the wireless dongle directly to the USB-C port on the front of the console. Due to the dongle's shape, which is optimized for mobile usage, it does block the front USB-A port. The other option is to connect the dongle to a front or rear USB-A port via the included adapter cable.
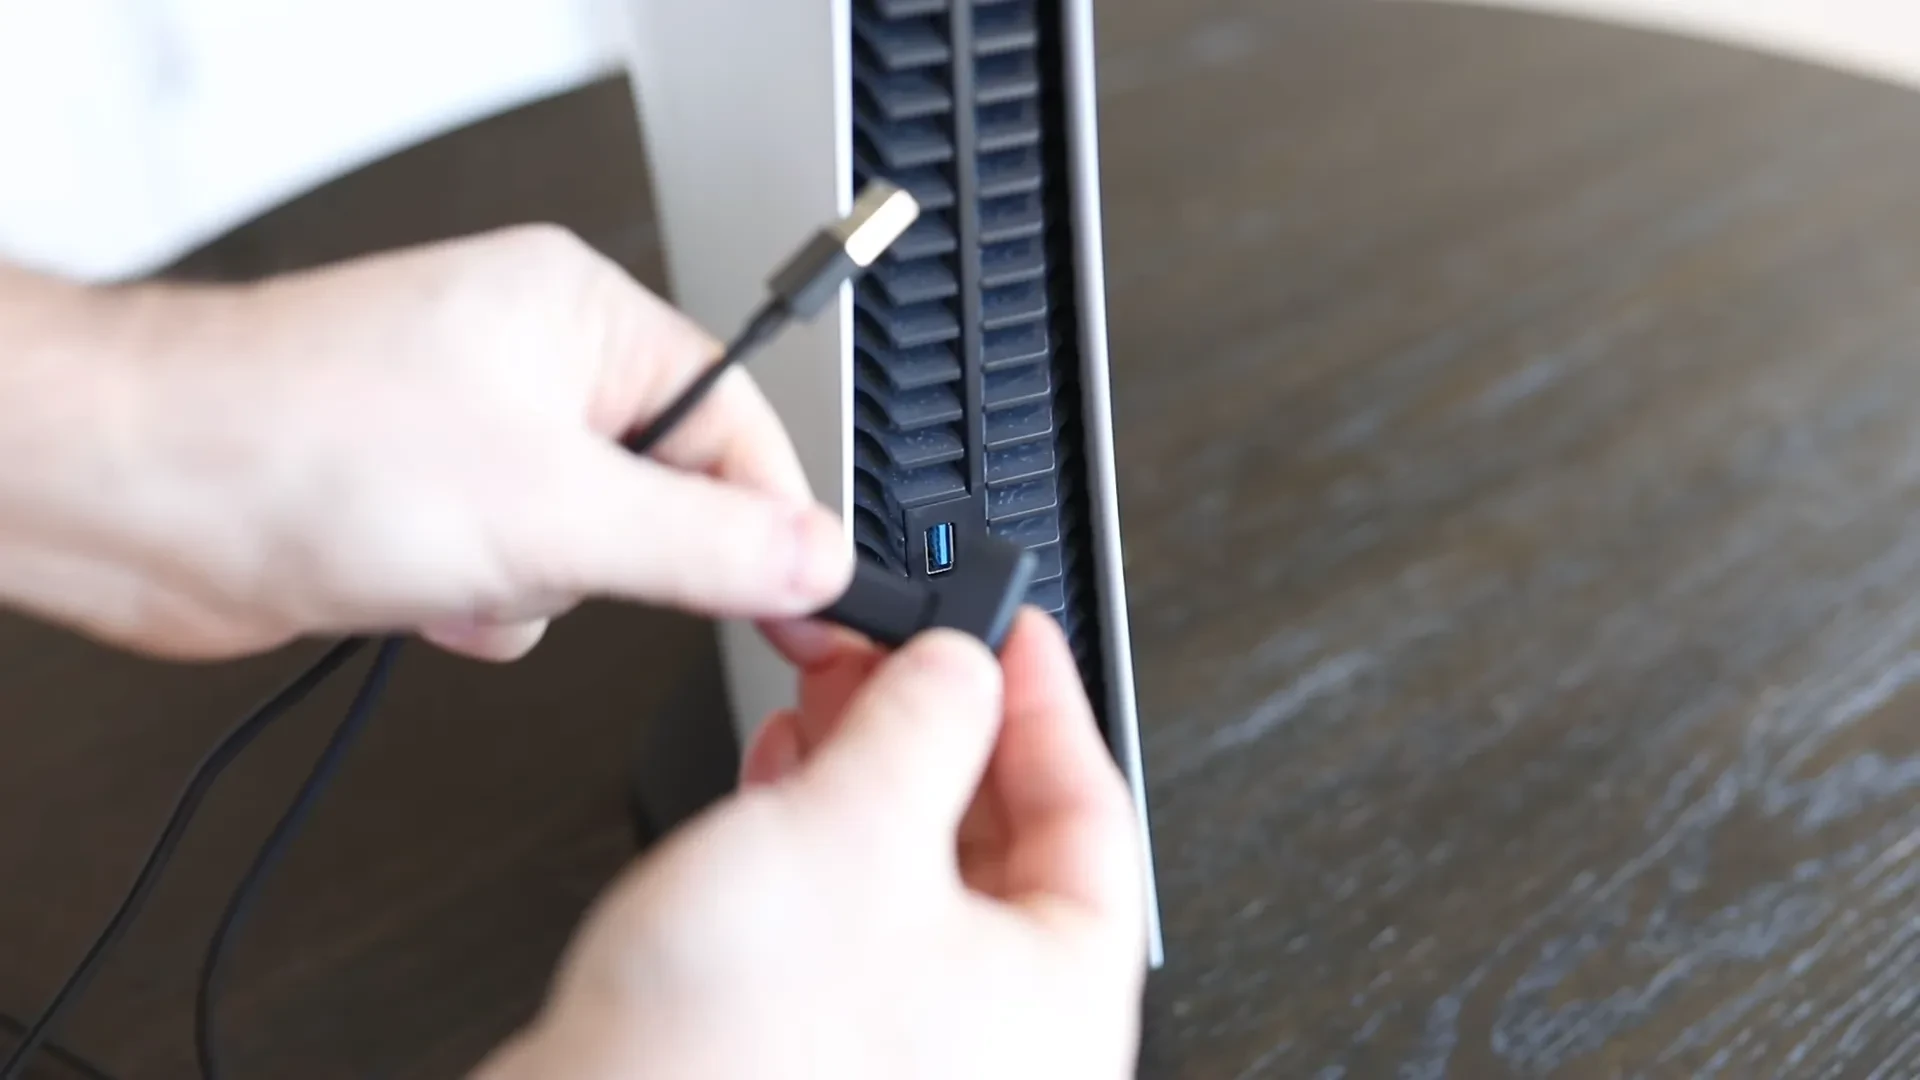
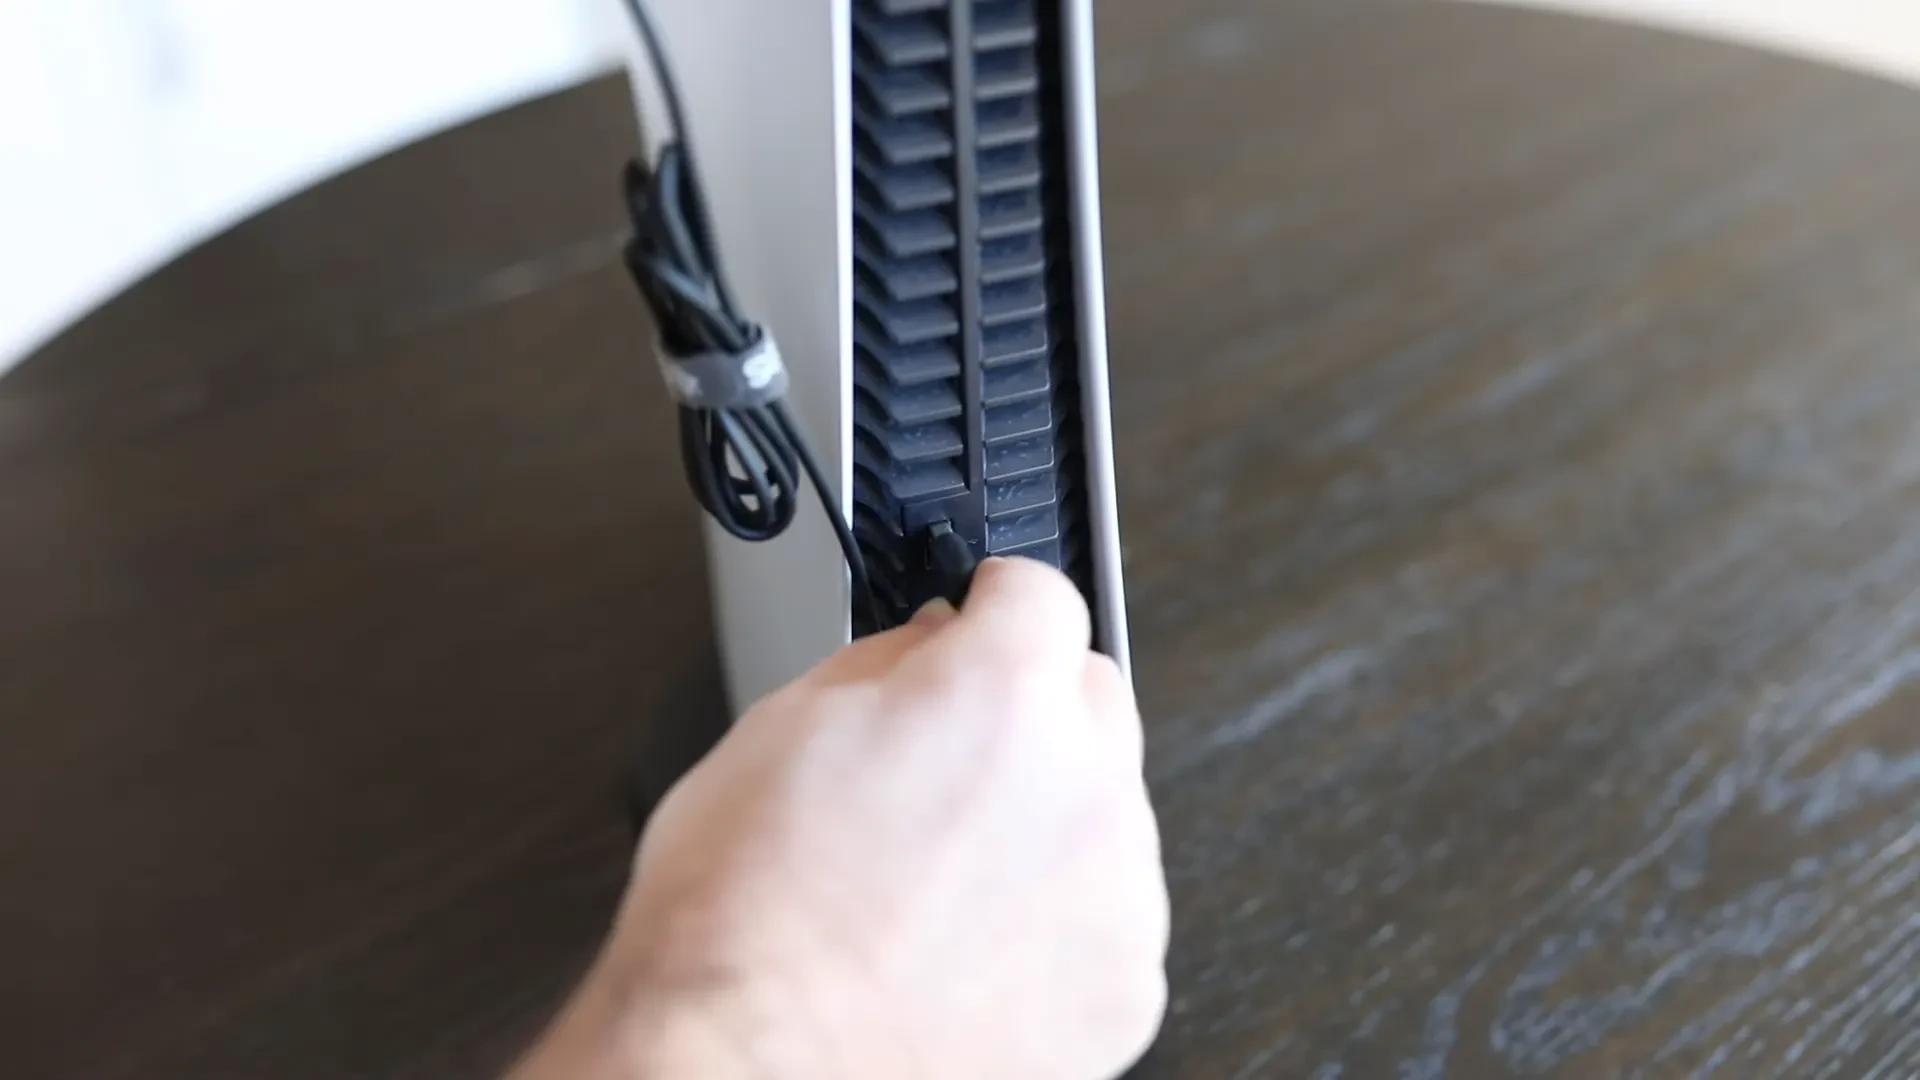
For an Arctis 7 or Arctis 9, you will also plug the transmitter into one of the USB-A ports.
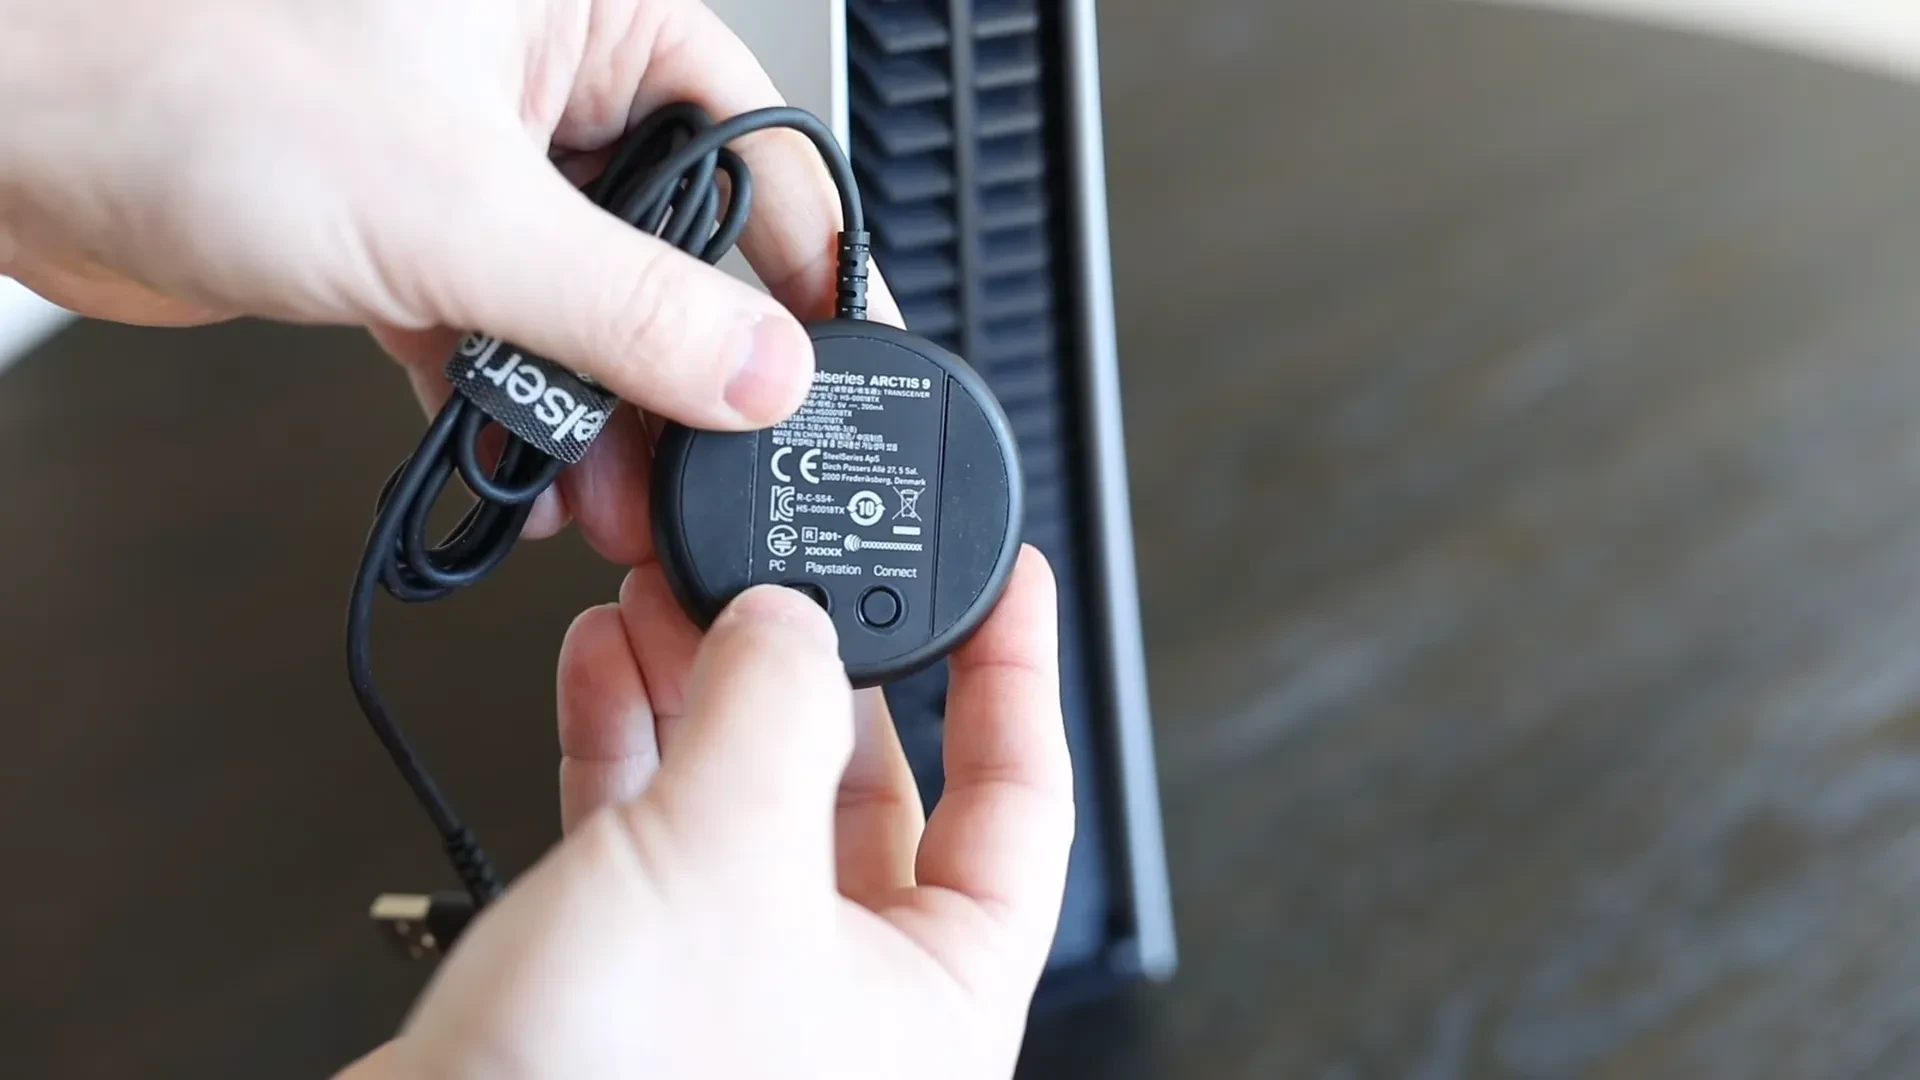
If you have an Arctis 9, make sure the switch on the bottom of the transmitter is set to the PlayStation setting.
For an Arctis Pro or GameDAC, connect the USB cable from the DAC or base station to a front or rear USB-A port.

On your Arctis Pro Wireless base station, press the main control knob to enter the menu.
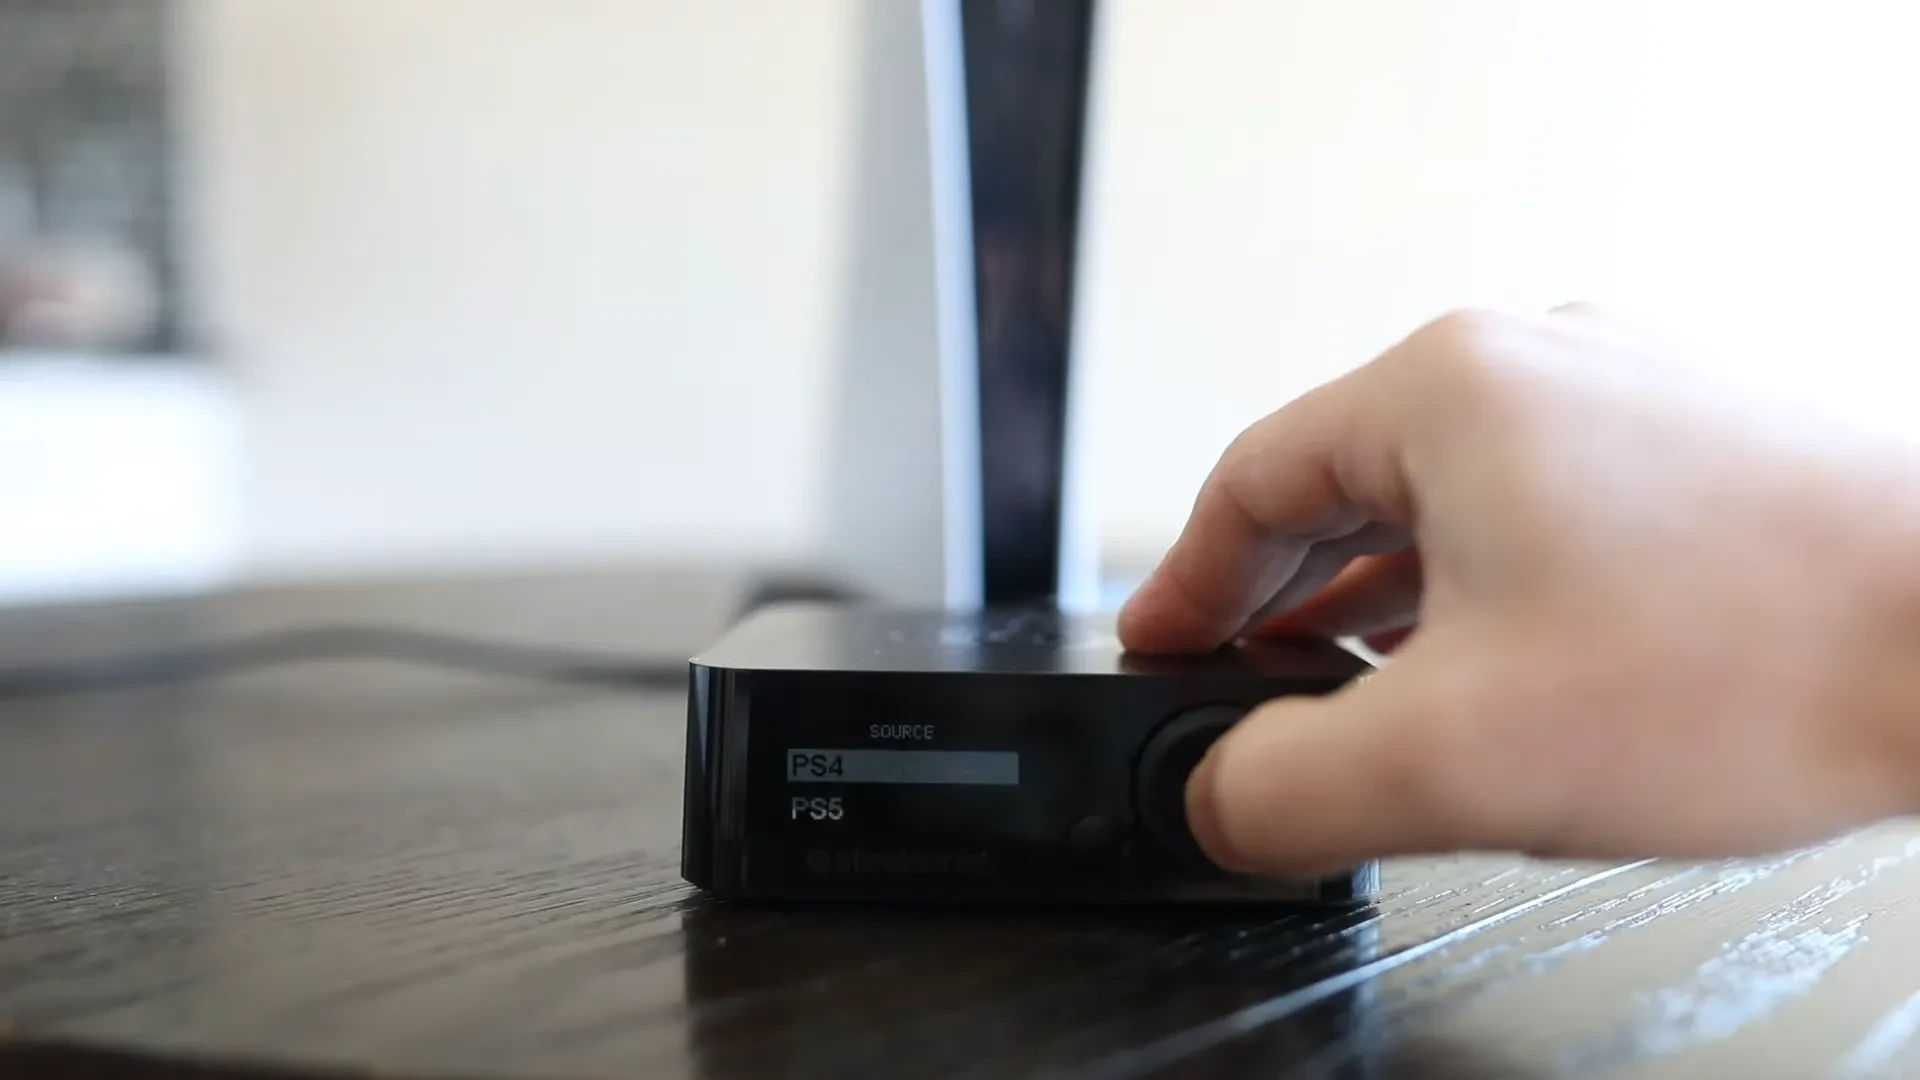
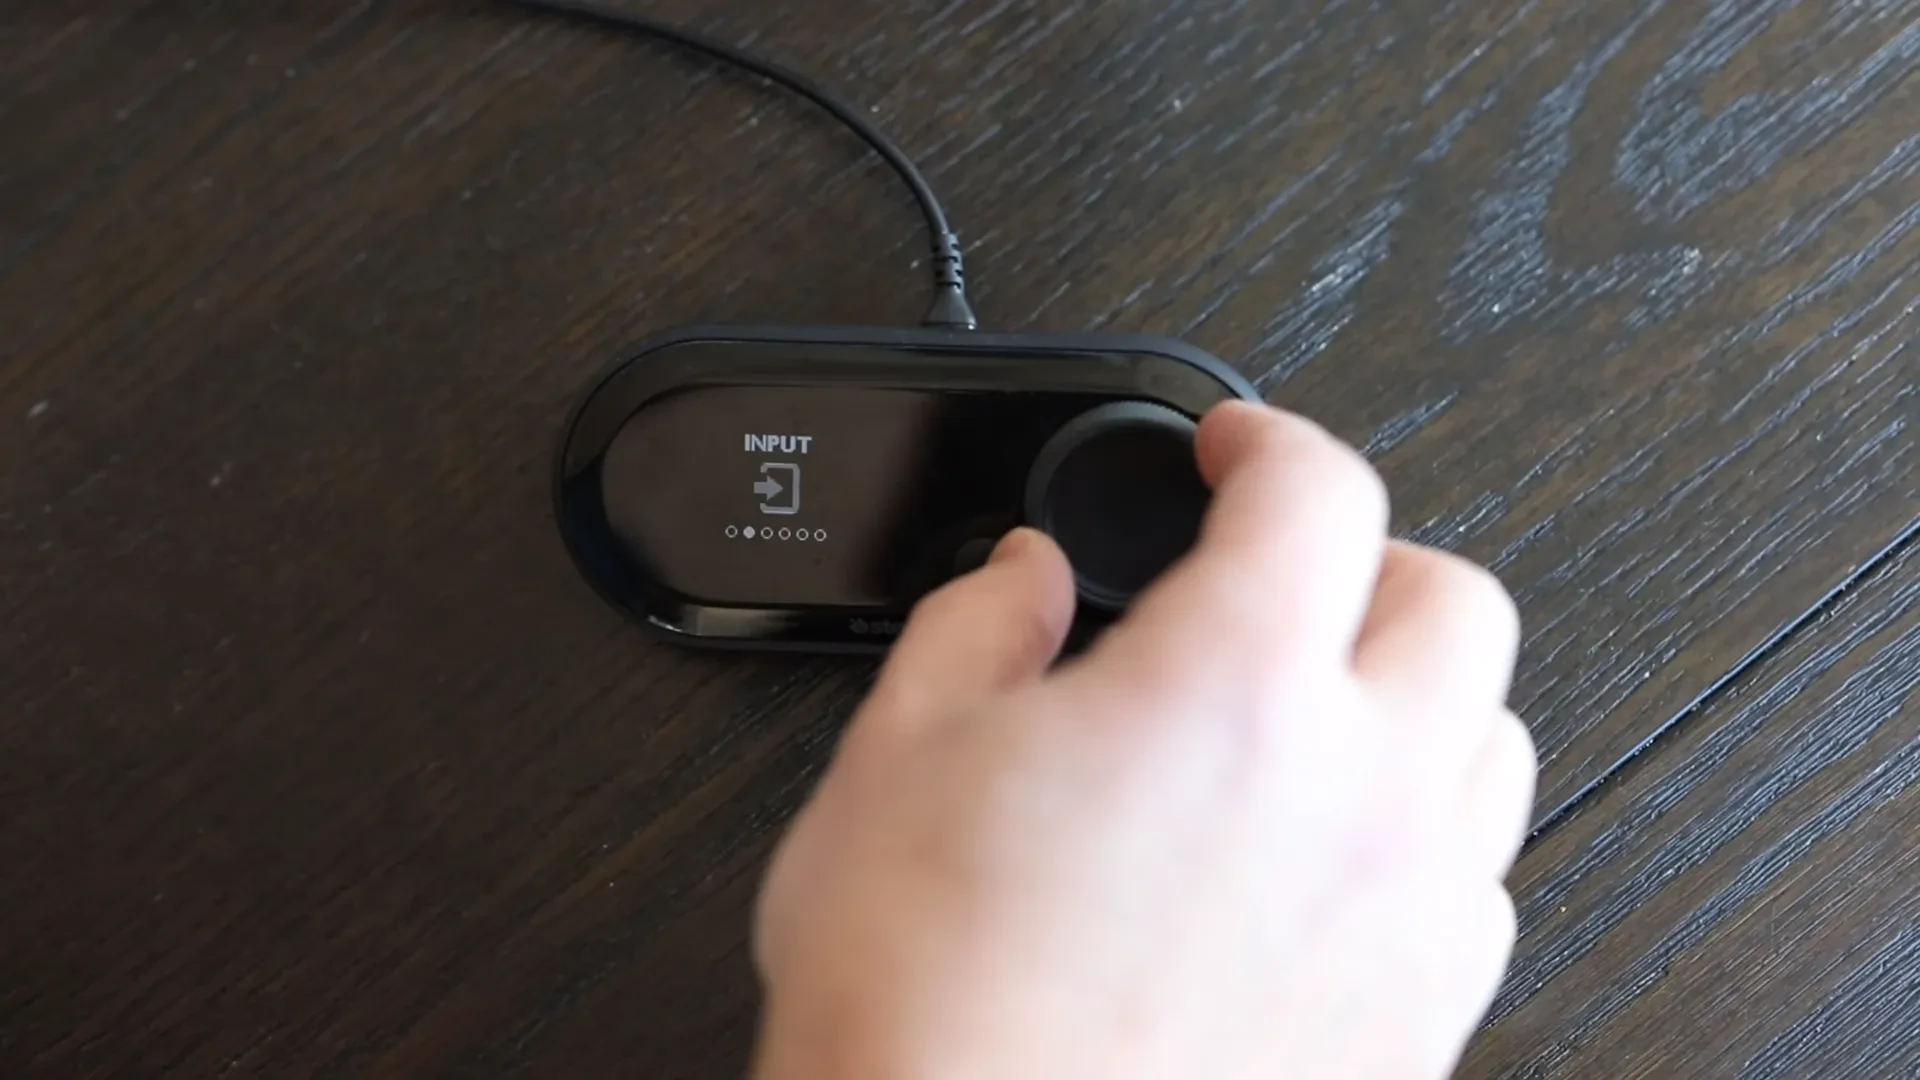
Scroll to "Source" and select "PS4." In the GameDAC, press and hold the main control knob to enter the menu. Scroll to "Input" and select "PS5." An upcoming firmware for the Pro Wireless will add a PS4 source mode.
Once your headset is connected
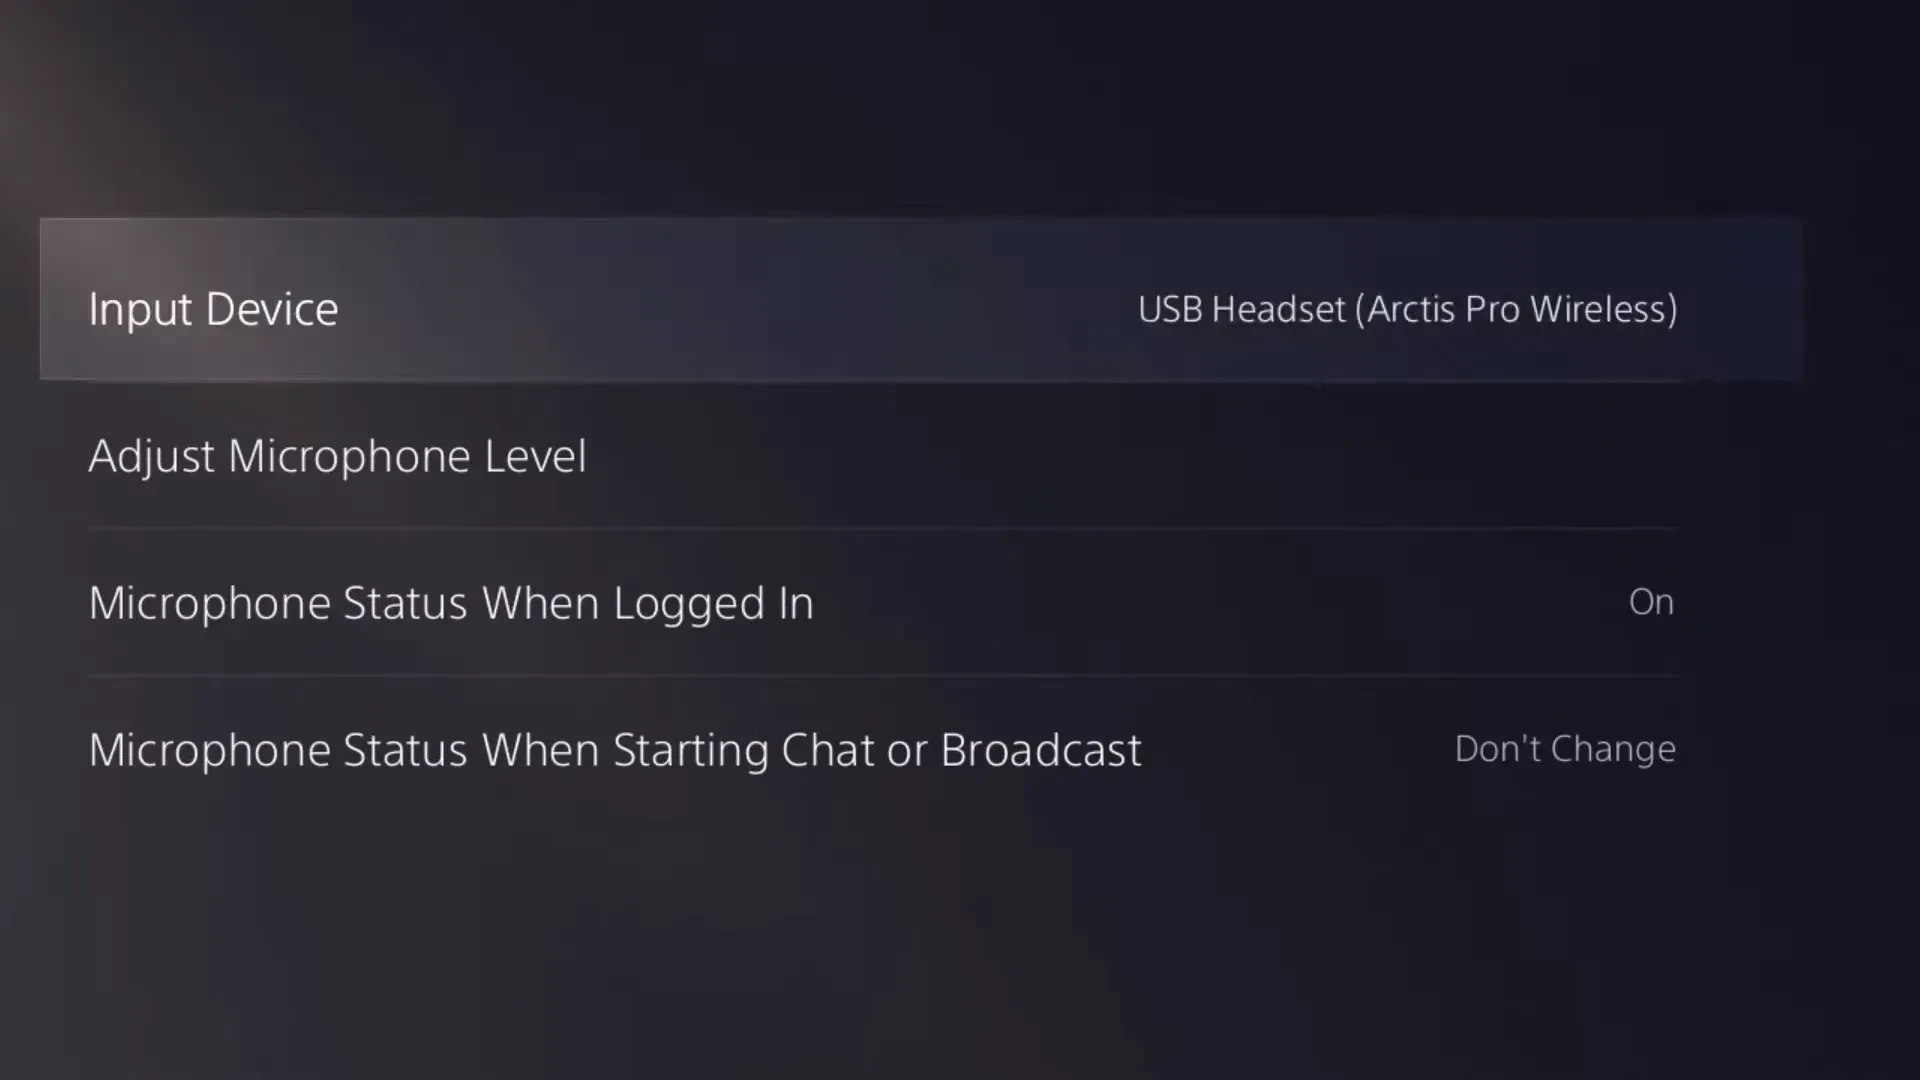
After connecting your Arctis headset, the PS5 will automatically switch over to use it for both playback and microphone. To check, go to Settings, then Sound, and then Microphone to make sure your Arctis headset is the selected device.
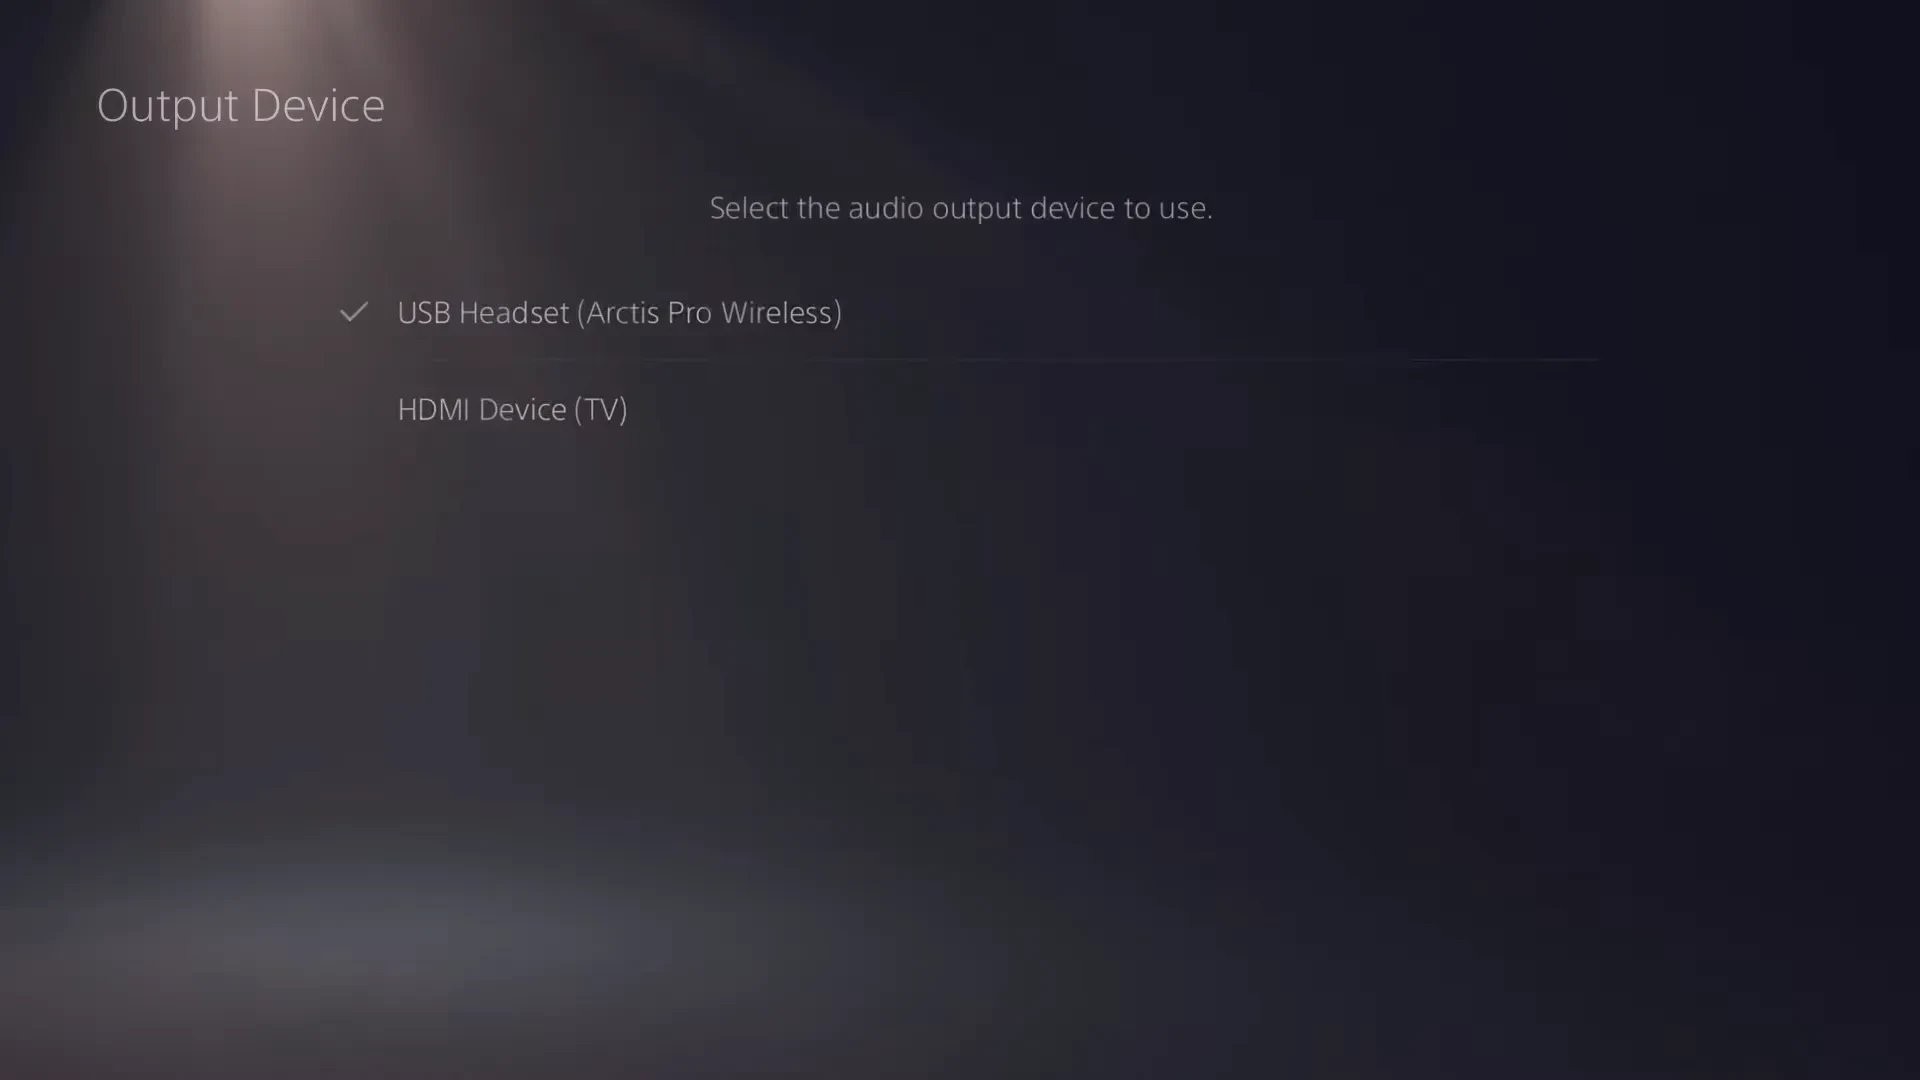
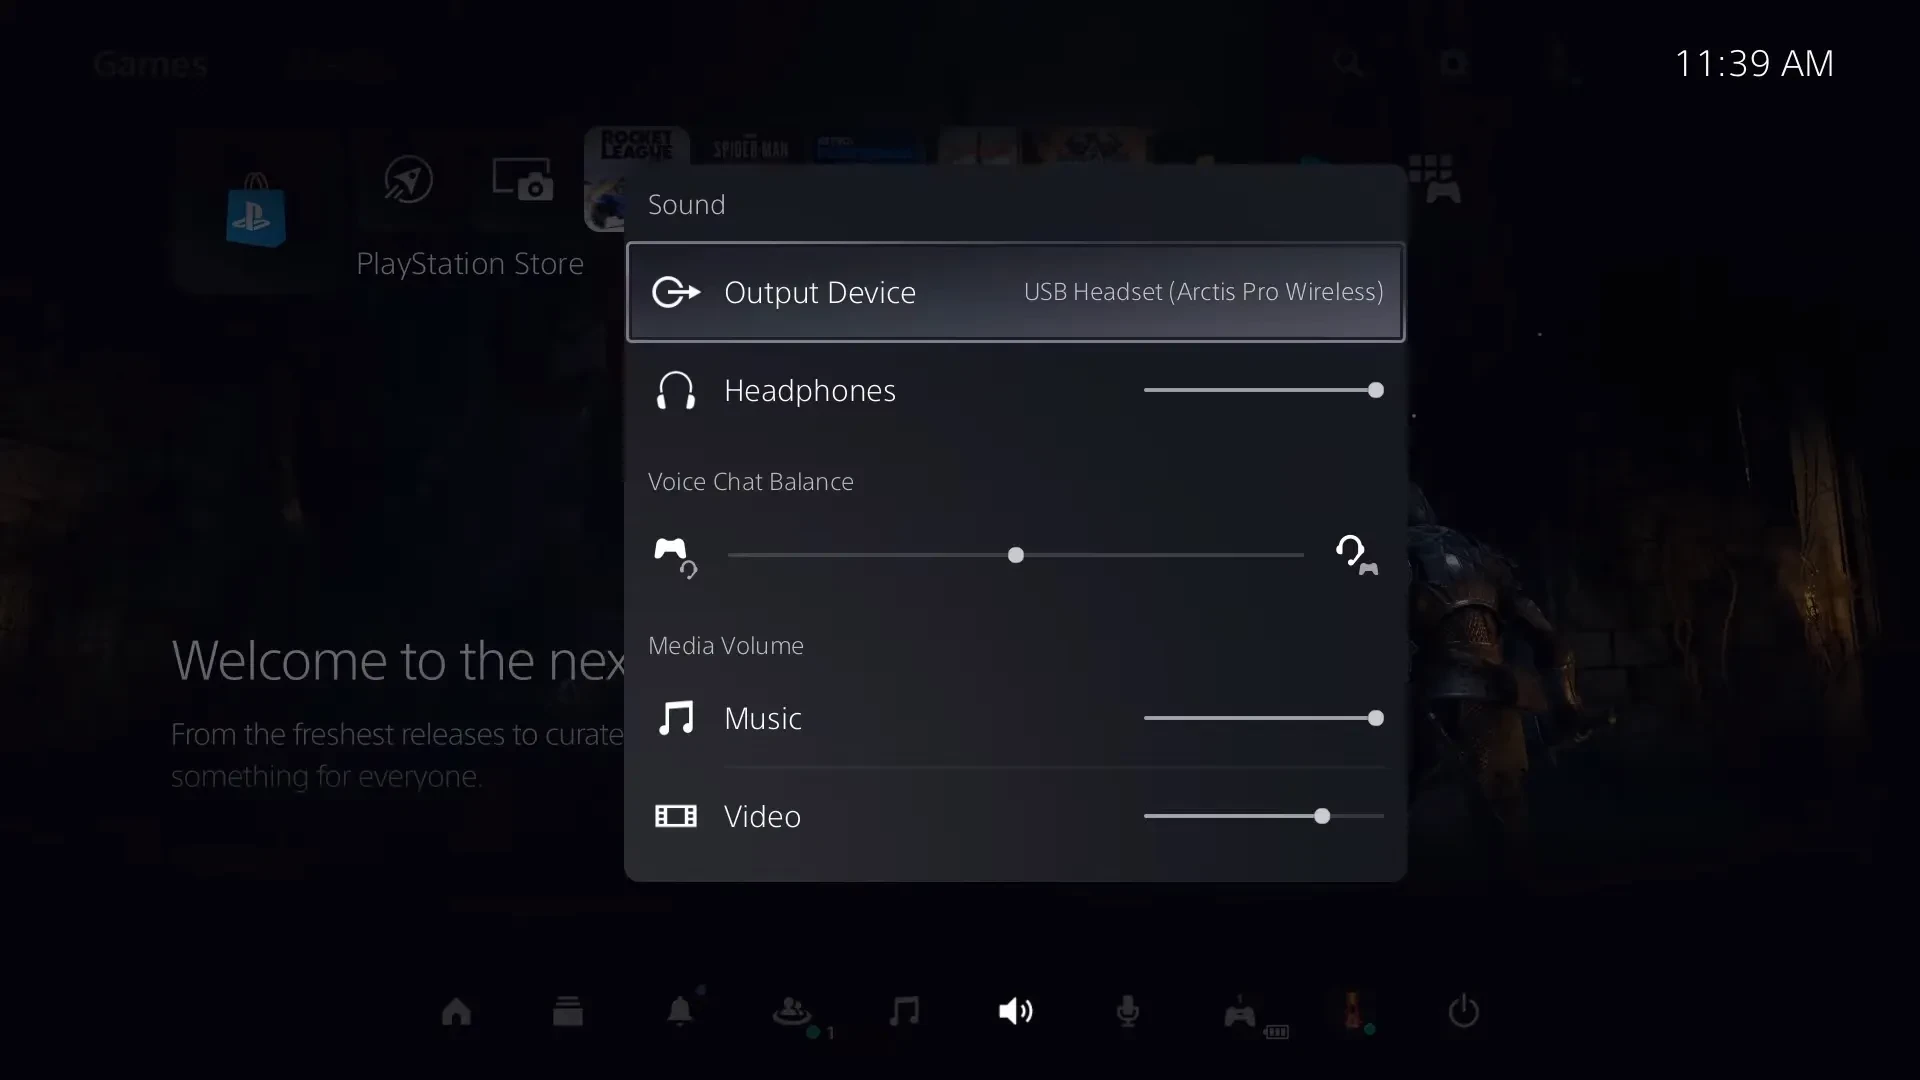
Then go to Audio Output and do the same. Under Volume, set Headphones to maximum level. This will allow you to adjust the full range of volume from your Arctis headset itself.
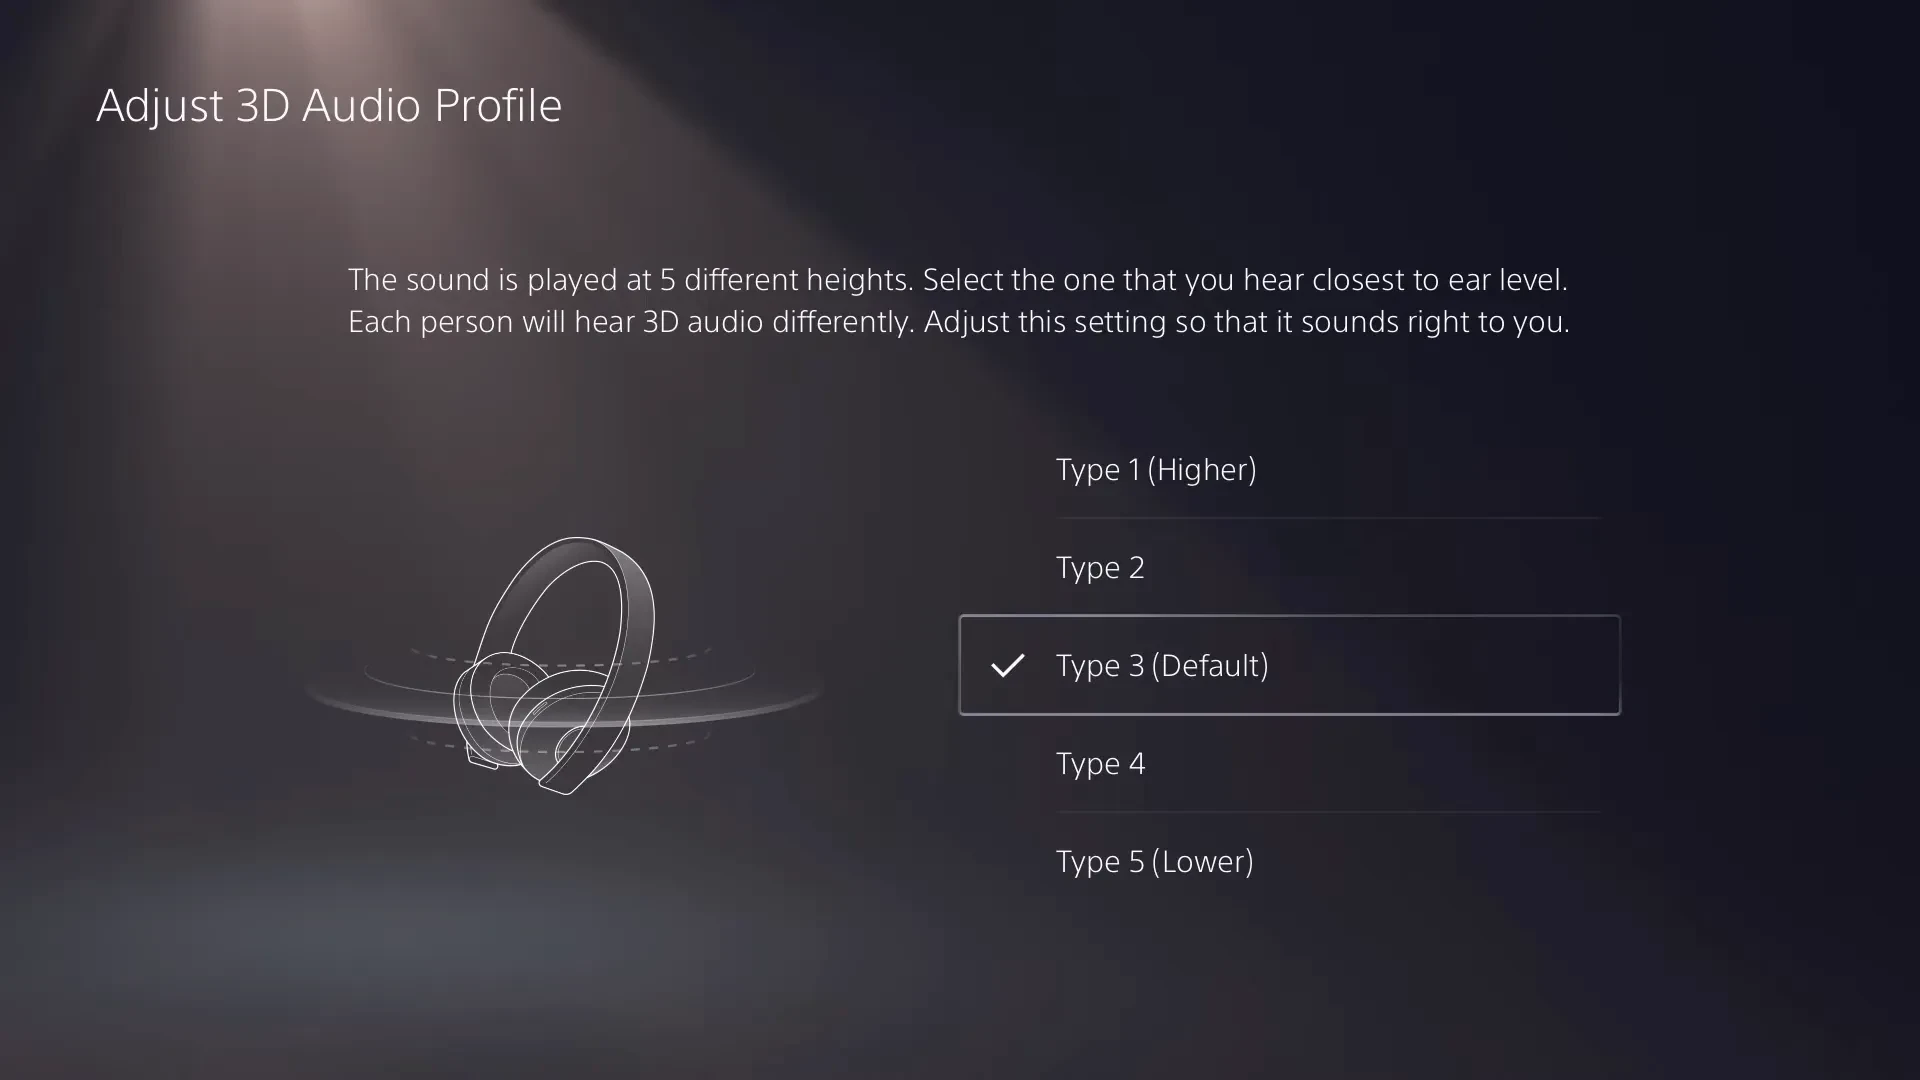
In Audio Output, there is a selection for 3D Audio, which is enabled by default. Sony's 3D Audio provides surround sound for your headset, but it can also change the tonal characteristic of games. You may want to try playing various games with the the 3D on and off to see which way you prefer. When 3D Audio is enabled, there is also an adjustment to fine-tune the profile, depending on your ears. You can try the 5 different settings to see which sounds best to you.
You may wish to adjust the balance between your game audio and your chat audio. There is a control for this balance directly on the PS5. To access it, press the PlayStation button on your controller to bring up the quick menu. Then go to Sound. Note that this control is only available when you are actively in a party chat. Other times, it will be grayed out.
That's it! You're ready to enjoy the best in gaming audio on your PlayStation 5. Thanks for choosing a SteelSeries Arctis headset, and enjoy!
Read more
Need more help? Join the official SteelSeries Discord server to seek out some tips.

As the Senior Product Manager for audio products at SteelSeries, Brian and his team are responsible for bringing the award-winning Arctis headsets to life. A lifelong gamer, musician, and all around audio nerd, Brian combines his endless passion for making things sound amazing with the goal of making every gamer’s experience that much better.