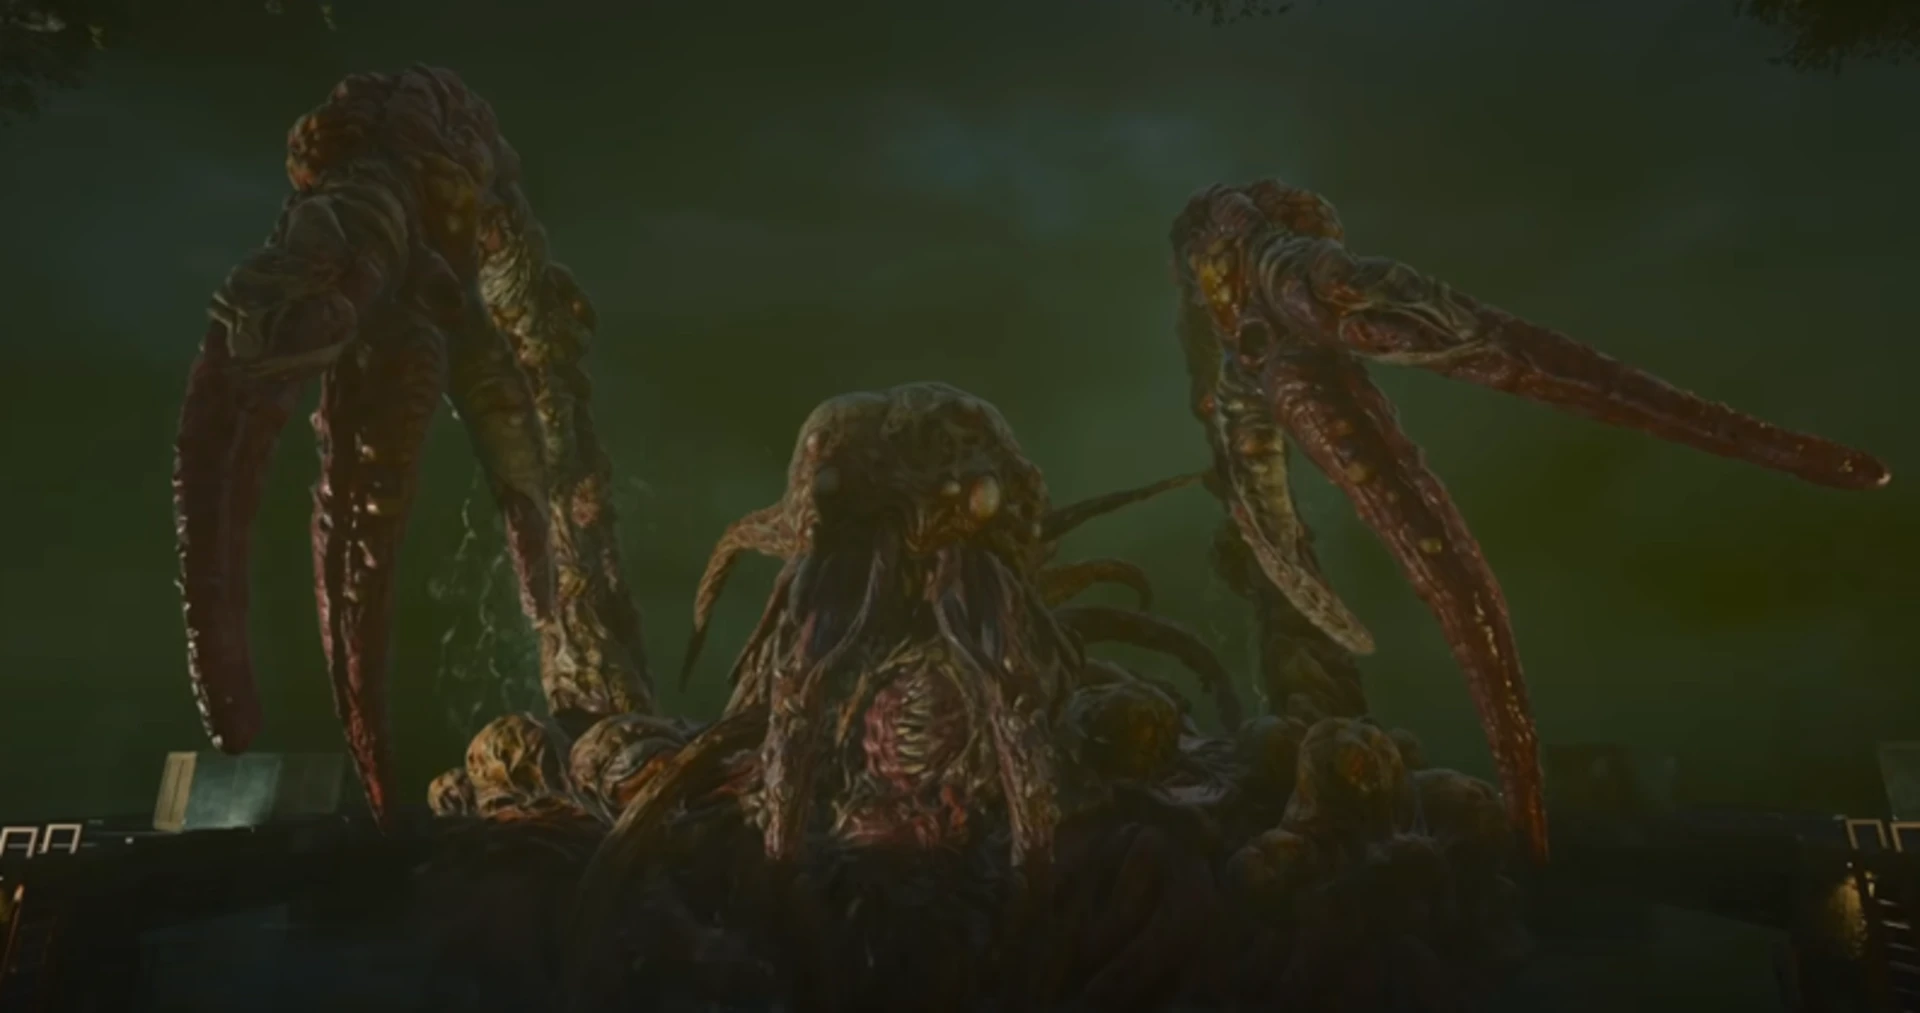
The Ultimate Black Ops 6 Terminus Easter Egg Walkthrough
“Hey, player! Drop the chips and get me some ammo!”

Full guide to the complicated Terminus Easter Egg in Call of Duty: Black Ops 6! Let's get it!
Treyarch's most ambitious and challenging zombie quest to date. This intricate adventure takes you through a series of complex puzzles, from hunting down the powerful DRI-11 Beamsmasher to an epic final confrontation with Patient 13. Whether you're attempting this solo or with a full team, this comprehensive walkthrough covers every step and secret you'll need to succeed. With exclusive rewards like the Trophy Collector operator skin at stake, let's dive into everything you need to know to master one of Call of Duty's most memorable easter eggs.
Recommended Loadout
For this easter egg quest, your arsenal selection is crucial. The DRI-11 Beamsmasher is absolutely essential as this remarkable weapon fires a devastating continuous beam that obliterates anything in its path, making it invaluable for both puzzle-solving and combat situations.
To complement the Beamsmasher, we highly recommend the ASG-89 semi-automatic shotgun as your secondary weapon. When Pack-a-Punched and equipped with ADS speed and magazine size attachments, this powerhouse excels at both crowd control and boss damage. You can also go with good ‘ol reliable and go with whichever loadout you prefer!
Recommended Perks
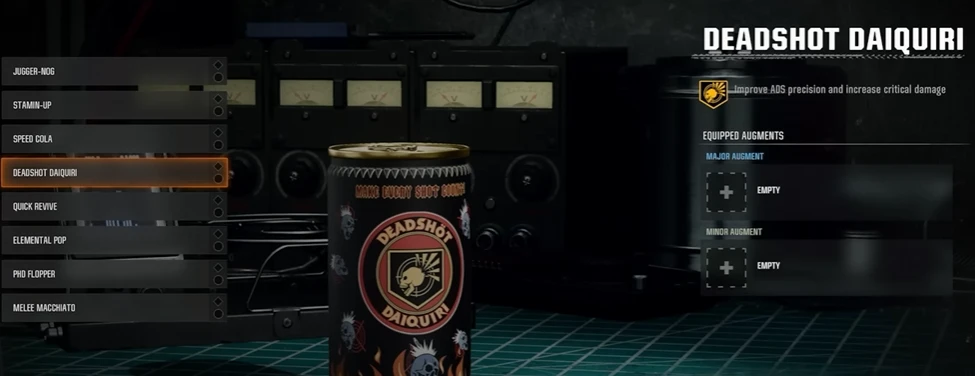
To maximize your survival chances through both boss fights and high rounds, proper perk and augment selection is critical. The Hardened Plates augment for Jugger-Nog to significantly reduce damage while armored. Obtaining every Perk-a-Cola available will make the run relatively easier!
As for Gobblegums, Idle Eyes is an absolute game-changer that shouldn't be overlooked. This powerful consumable freezes enemies in your line of sight - including bosses - making it invaluable for creating breathing room during intense encounters. Combined with your augmented perks, you'll have a robust defensive setup that turns previously challenging encounters into manageable fights. Remember to Pack-a-Punch your weapons as early as possible to complement this defensive loadout with maximum offensive capability.
Finding the Hard Drive
Your first major task is tracking down the hidden hard drive, which is stashed at one of four tentacle traps across Terminus. The key is identifying the correct trap — look for one with a distinctly broken top grate, accompanied by a telltale scene below: a lost keycard lying in a pool of blood. This environmental storytelling isn't just for show — it's your visual confirmation you've found the right location!
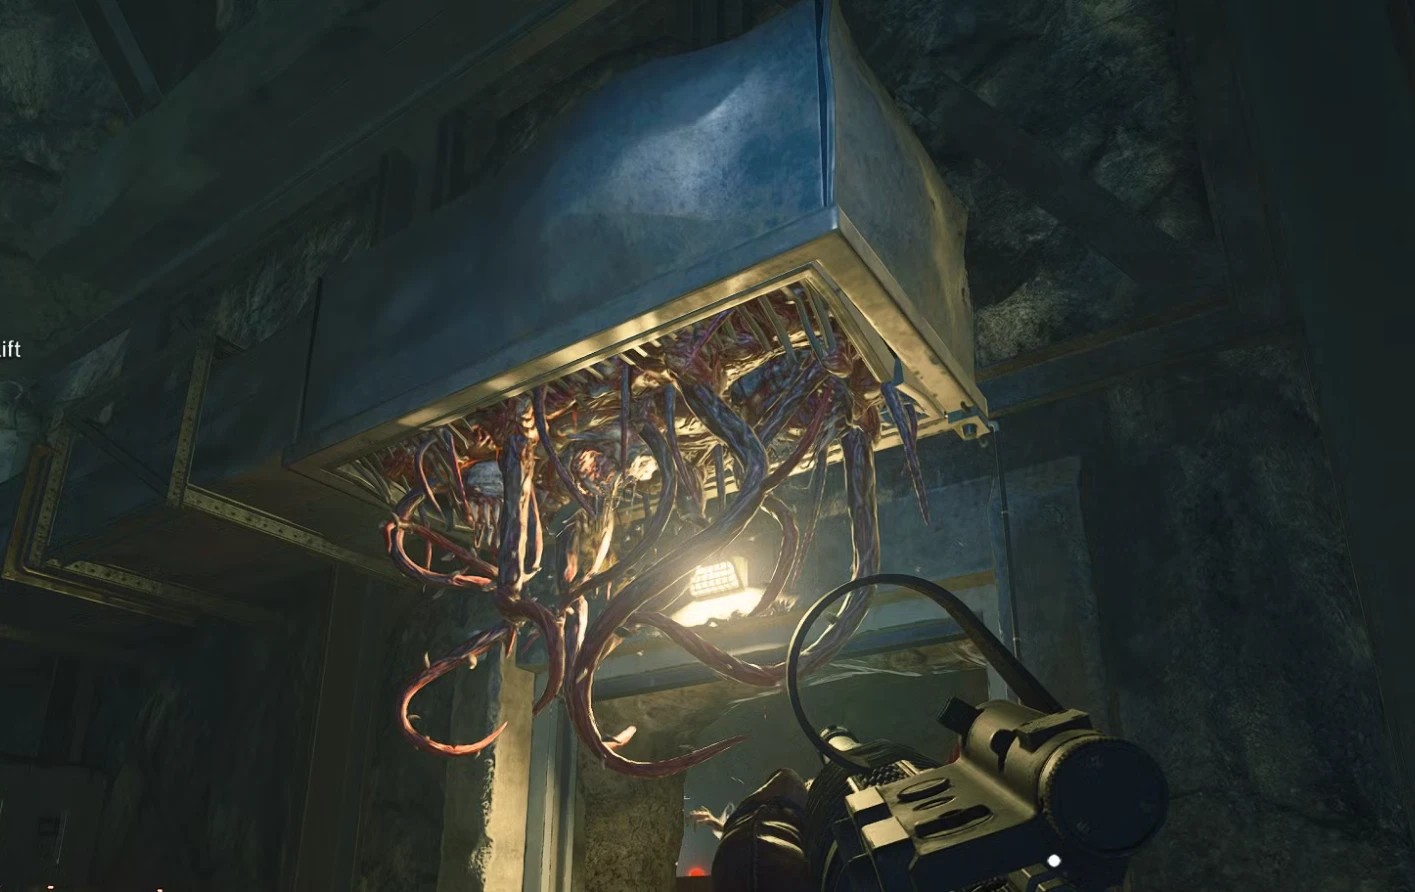
Look for a specific Tentacle Trap with these distinct markers:
Broken ceiling grate
Keycard on ground
Blood splatter below
Trap Locations:
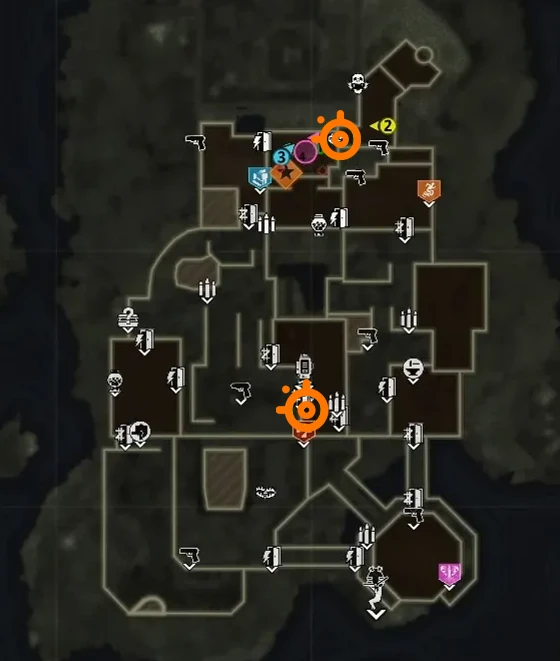
Spawn area (near first AMP Generator)
By Jugger-Nog machine
Bio Lab southwest corner
Bio Lab southeast section
The Nathan Code Quest
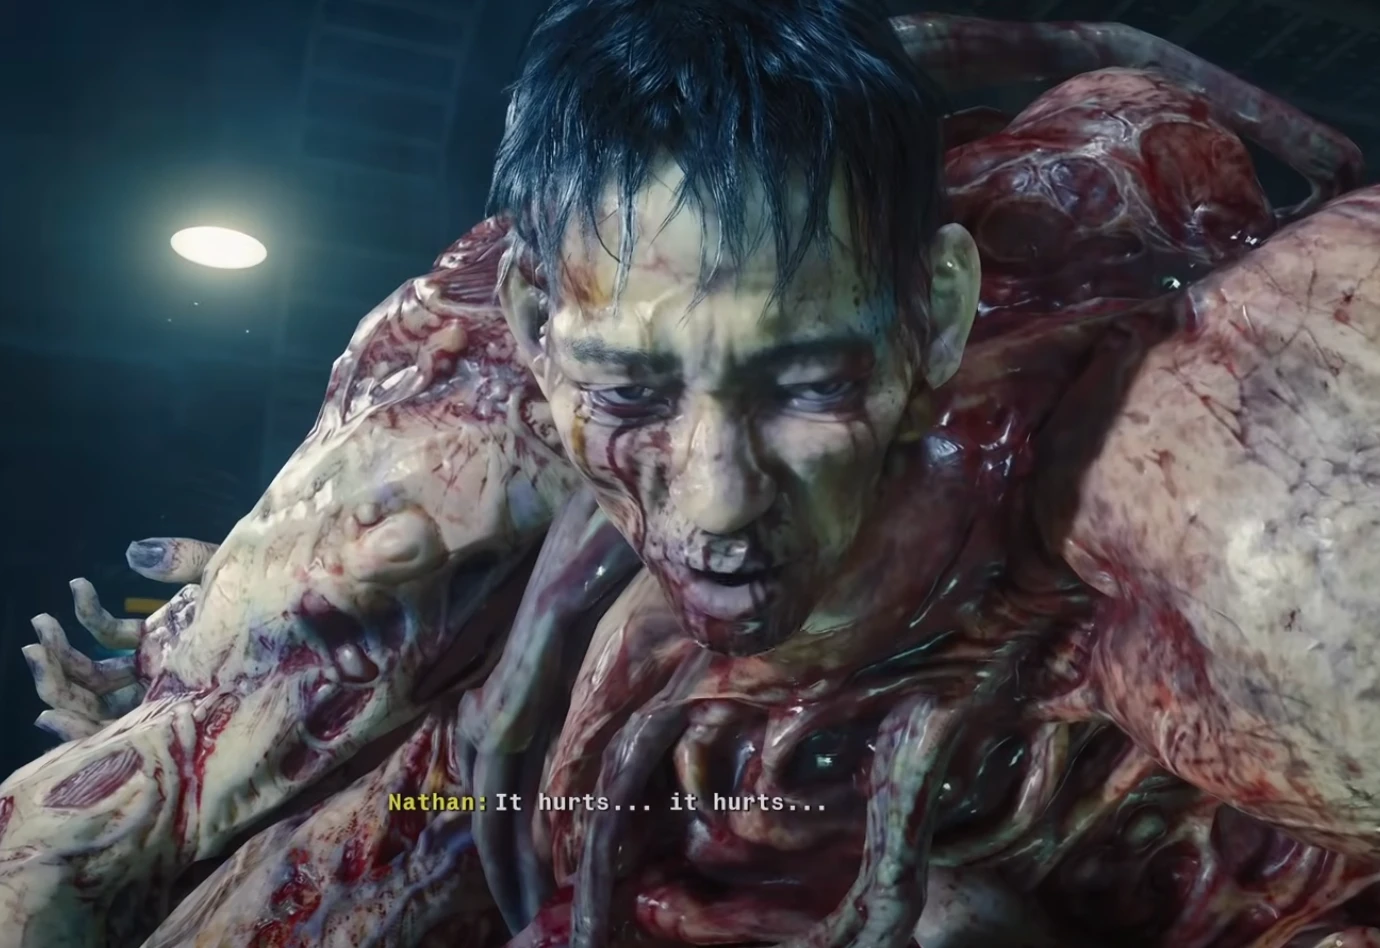
After securing the hard drive, head to the Guard Station and place it in Peck's deposit slot. This triggers the next phase of our easter egg, leading you to the Bio Lab's central chamber where you'll discover Nathan Aguinaldo trapped inside. Time to channel your inner detective! The code to Nathan's cell changes every game, so you'll need to piece it together by visiting three specific locations:
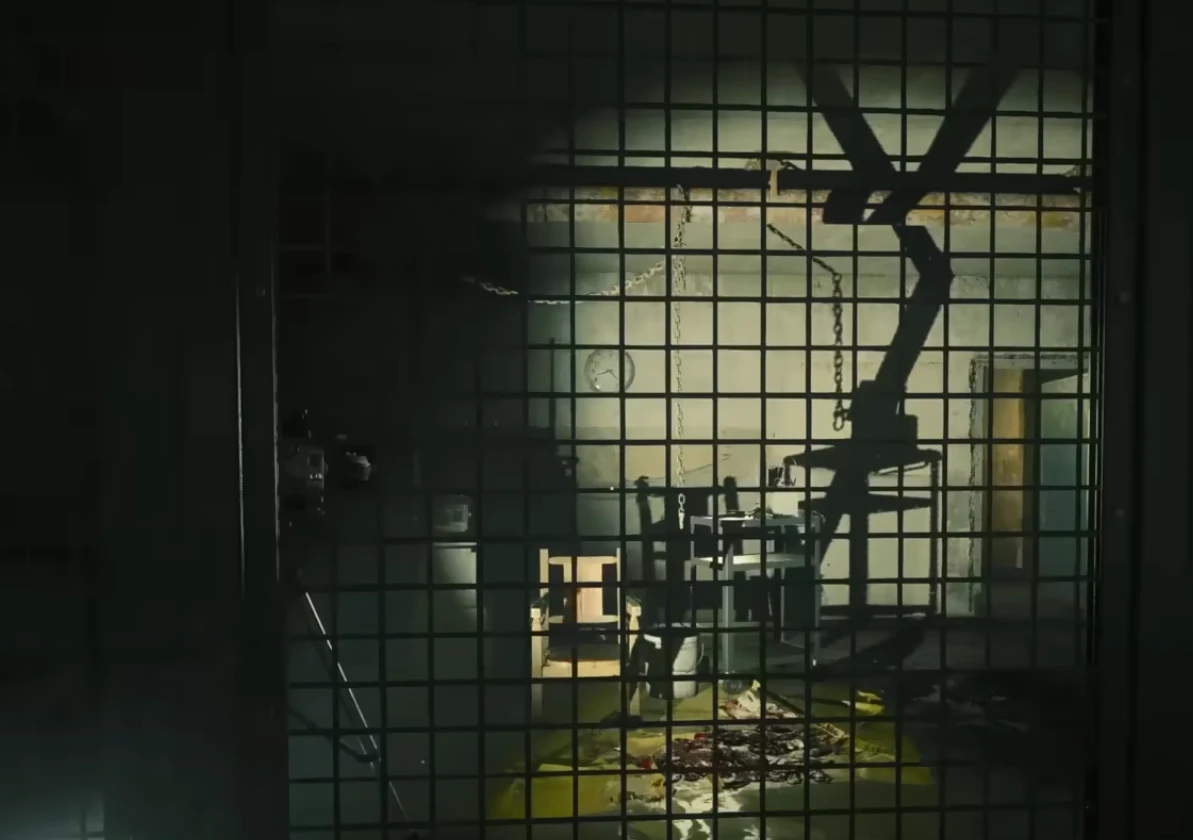
First Digit (Clock Room) —
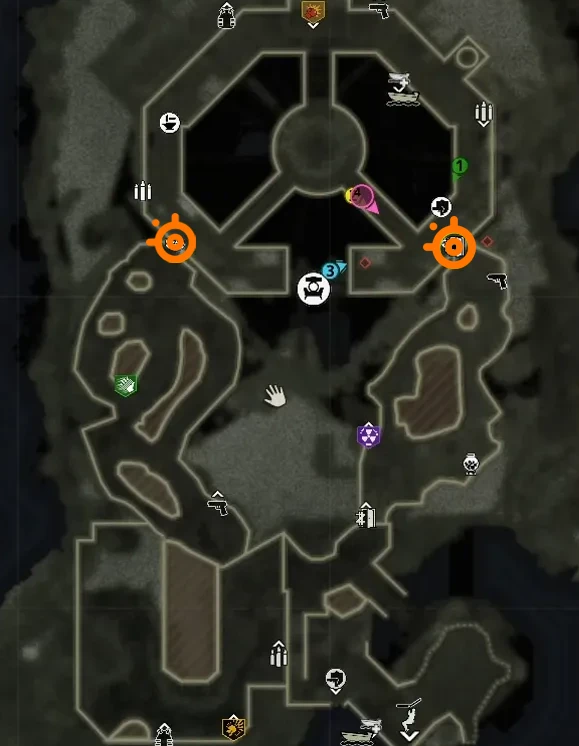
Located in quadrant E4: Clear shot of the clock position - this one's easy to misread! (The number will be the hour hand AKA shorter hand!)
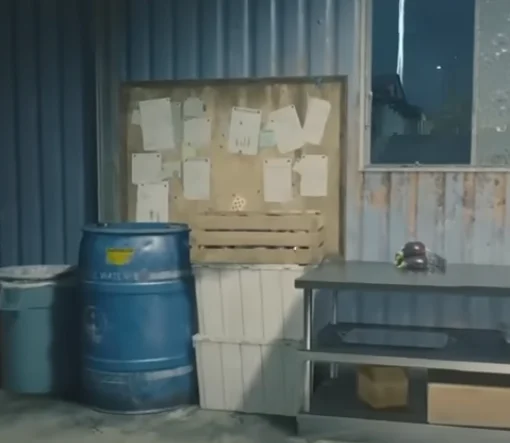
Second Digit (Mess Hall) —
Located in quadrant E5: Close-up of the playing card board - trust me, you'll want this reference
Third Digit (Engineering) —
Located in quadrant F5: The "Days since last injury" sign - absolute game-changer for quick runs
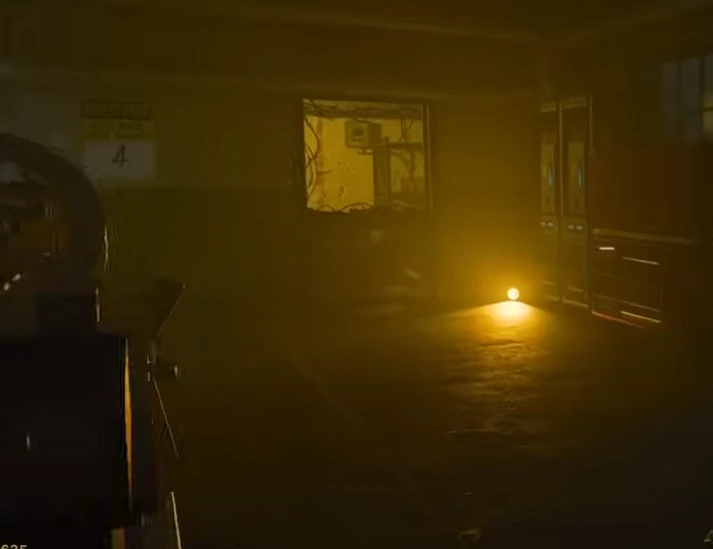
HUGE TIP: Screenshot your own code when you find it - nothing worse than forgetting mid-run!
With all three digits in hand, return to the Bio Lab's central chamber. This is your point of no return — make sure everyone is ready and stocked up before proceeding. What follows is one of the most intense encounters in Terminus. Nathan emerges as a grotesque Amalgam, marking the beginning of a challenging boss fight within the confined Bio Lab space.
Combat Tips:
Arena becomes lockdown zone — no escape until fight ends
Focus fire on glowing weak spots
Keep moving in circular patterns
Use lab equipment as temporary cover
Prioritize Nathan over zombies
Watch for grab attacks - they hurt!
HUGE TIP: Stock up on ammo and armor BEFORE starting this sequence. Once you're locked in, there's no resupply runs! Also, if you're running as Maya, prepare for some wild dialogue. The feels are real in this one!
Finding and Reconnecting Nodes
After that intense showdown with Nathan, catch your breath — but not for too long. Your next objective awaits in the murky waters below. Dive into the Bio Lab's flooded section and search for a keycard among the debris. Don't worry about zombies while swimming — they're the least of your problems right now.
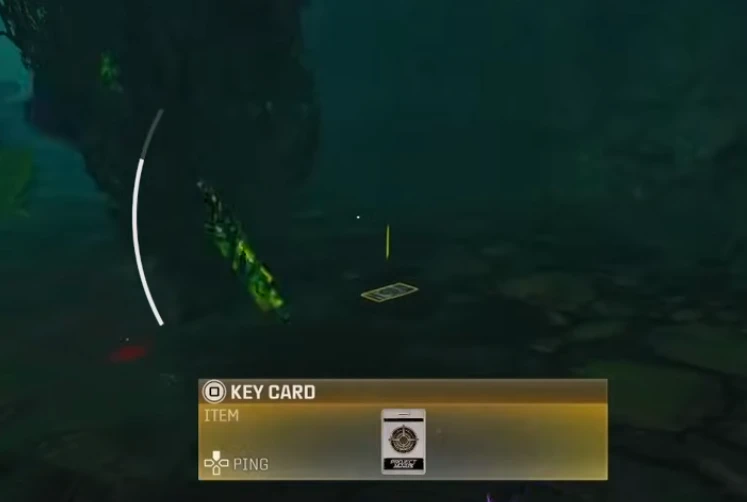
After obtaining the key card you'll need some nautical transportation. Grab a tactical raft and make your way to the massive shipwreck in the center of the map. Look for a distinctive breach in the ship's hull — this is your entry point.
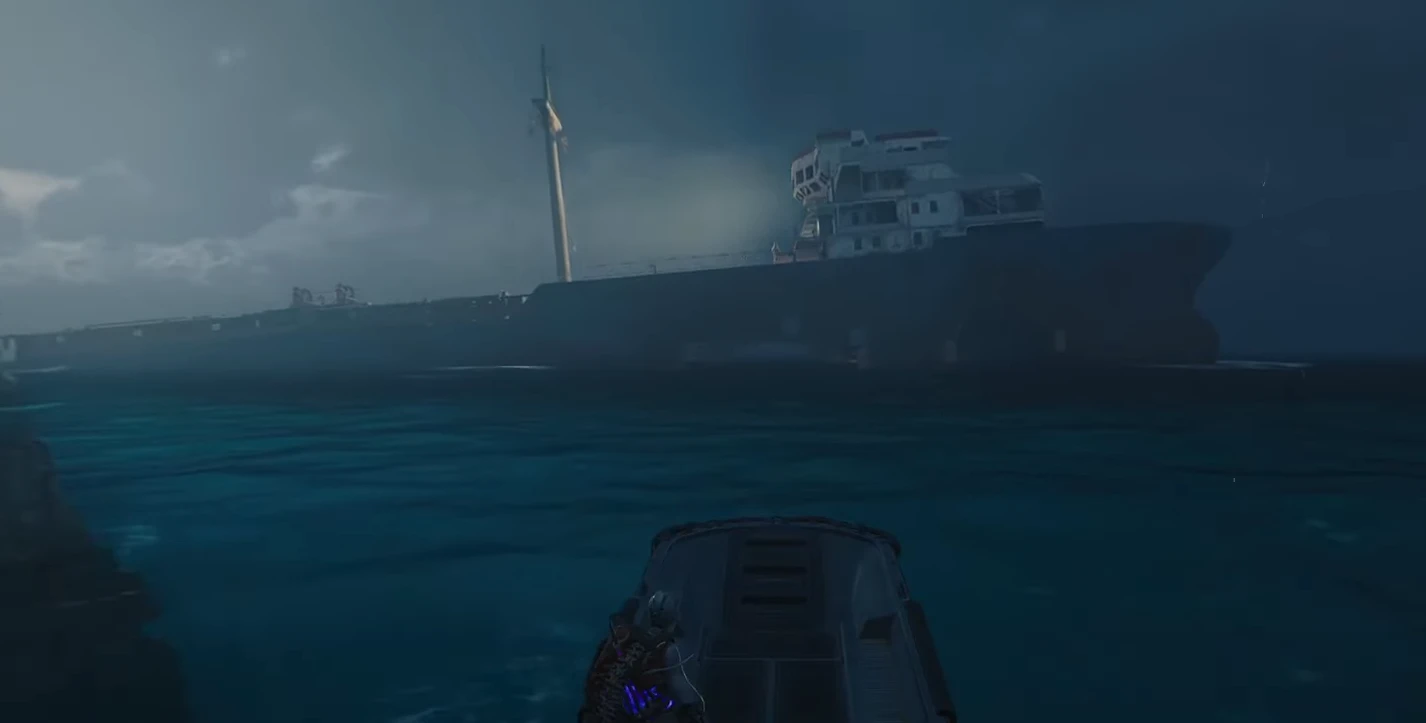
Once you've found the entrance:
Enter through the hull breach
Locate and climb the ladder
Enter the upper room
Grab BOTH Node Connectors
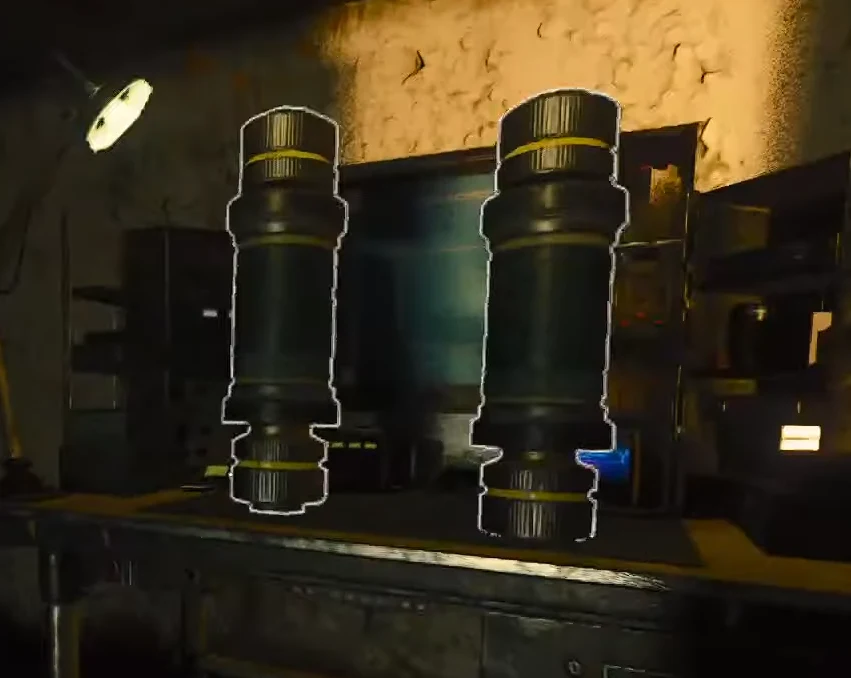
Picking up the connectors triggers an immediate lockdown and zombie wave. Get ready for some close-quarters combat!
Critical Success Tips:
Use corners for funneling zombies
Save equipment for emergency situations
Watch for special zombies in tight spaces
Room reopens after clearing the wave
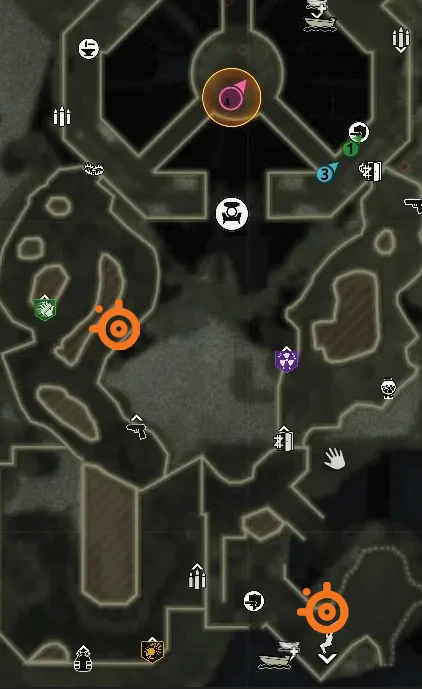
After surviving the lockdown, you'll need to install these connectors at specific points around the map. Here's the catch — only two of three possible locations will need connectors (one's already done at random).
Crab Island first possible location -Located in quadrant D7:
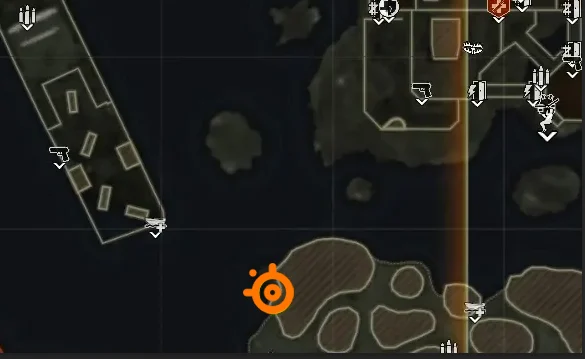
Terminus ground floor - Located in quadrant E5:
Terminus ground floor - Located in quadrant F6:
Satellite Hack Attack
After completing the node connections, head back to the Guard Station. Peck's got a new toy for you - a Hacking Device that's going to be crucial for your next task. Make your way to the Docks, because we're about to go sailing.
You will have TWO MINUTES to hack all three satellites once you start. Plan your route before beginning!
All three Water Satellites can be found in these map quadrants (they will be buoys located near the boat):
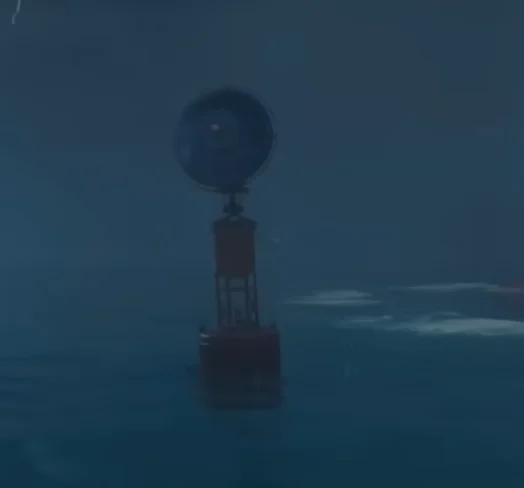
Located in quadrant D7
(Southern Waters)
Located in quadrant E2
(Northern Waters)
Located in quadrant G6
(Eastern Waters)
Once that third satellite is hacked, drop everything and sprint back to the Bio Lab — the clock is ticking! You've got exactly FIVE MINUTES to find and defuse three warheads, or it's game over for all of Terminus.
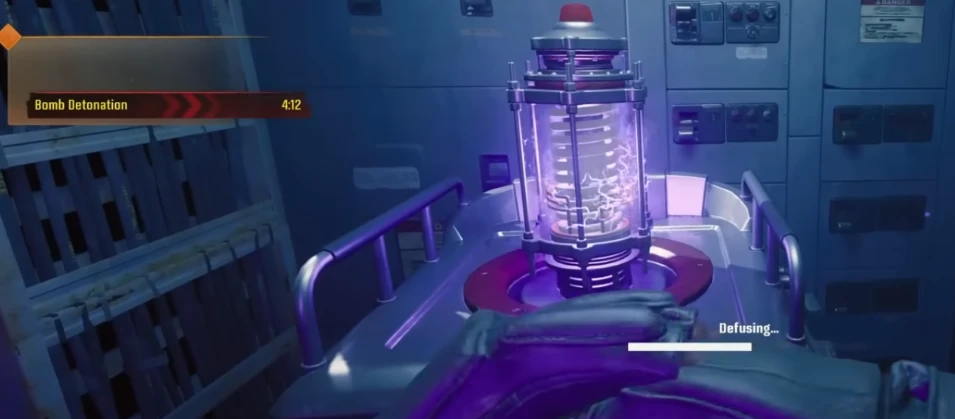
You're looking for purple coils embedded in the Bio Lab walls:
Located in Lower Level, First Door
Located in Lower Level, Opposite End
Located in Second Floor, Above Melee Machiatto
Critical Success Tips:
Deploy Smoke Grenades for vital cover
Use Idle Eyes Gobblegum for emergency breathing room
Aether shroud will also come in clutch!
Have teammates form defensive perimeter (co-op)
Save equipment specifically for this sequence
Ultimate Boss Battle: Patient 13
After completing all previous steps, you've finally reached the pinnacle of the Terminus easter egg — the epic showdown with Patient 13. This isn't your average zombie boss fight; it's a multi-phase battle that will test everything you've learned so far. Before initiating the fight, ensure your entire team is fully stocked: Pack-a-Punched weapons, armor plates, perks, and most importantly, Scorestreaks!
The fight begins with Patient 13's first form, where glowing weak points appear on both shoulders. This initial phase is straightforward but don't let your guard down. Utilize the arena's boxes for cover while coordinating your attacks. In co-op, having one player draw attention while others focus fire on the weak points is a solid strategy. Remember, Patient 13 hits hard - those boxes aren't just for decoration.
As soon as you destroy the shoulder weak points, the battle intensifies. The arena fills with poison gas while waves of zombies pour in. You'll need to multitask here: clear zombies, shoot external tentacles to reduce poison levels, and prepare for Patient 13's return. When it emerges again, its weak points have shifted to its tentacles, eventually moving to its mouth. Each successful damage phase triggers new waves of enemies, including tough Amalgams and Manglers that can quickly overwhelm an unprepared team.
Final Phase
The true test of skill comes in the final phase, where the arena dramatically shrinks and Patient 13 unleashes its full arsenal. You're left with just two boxes for cover, making positioning crucial. Watch for Patient 13's blue glow - this is your cue to either dive into the water or duck behind cover to avoid its devastating attack. Between these moments, focus fire on its alternating weak points: the piercing blue eyes and gaping mouth. This is the time to use every Scorestreak and tool at your disposal.
Critical Success Tips:
The weak spots glow! You can’t miss them!
Coordinate Scorestreak usage with your team
Always keep one player designated for crowd control
Learn to recognize Patient 13's audio cues - they'll save your life
Don't get greedy with damage - survival is priority one
Victory & Rewards
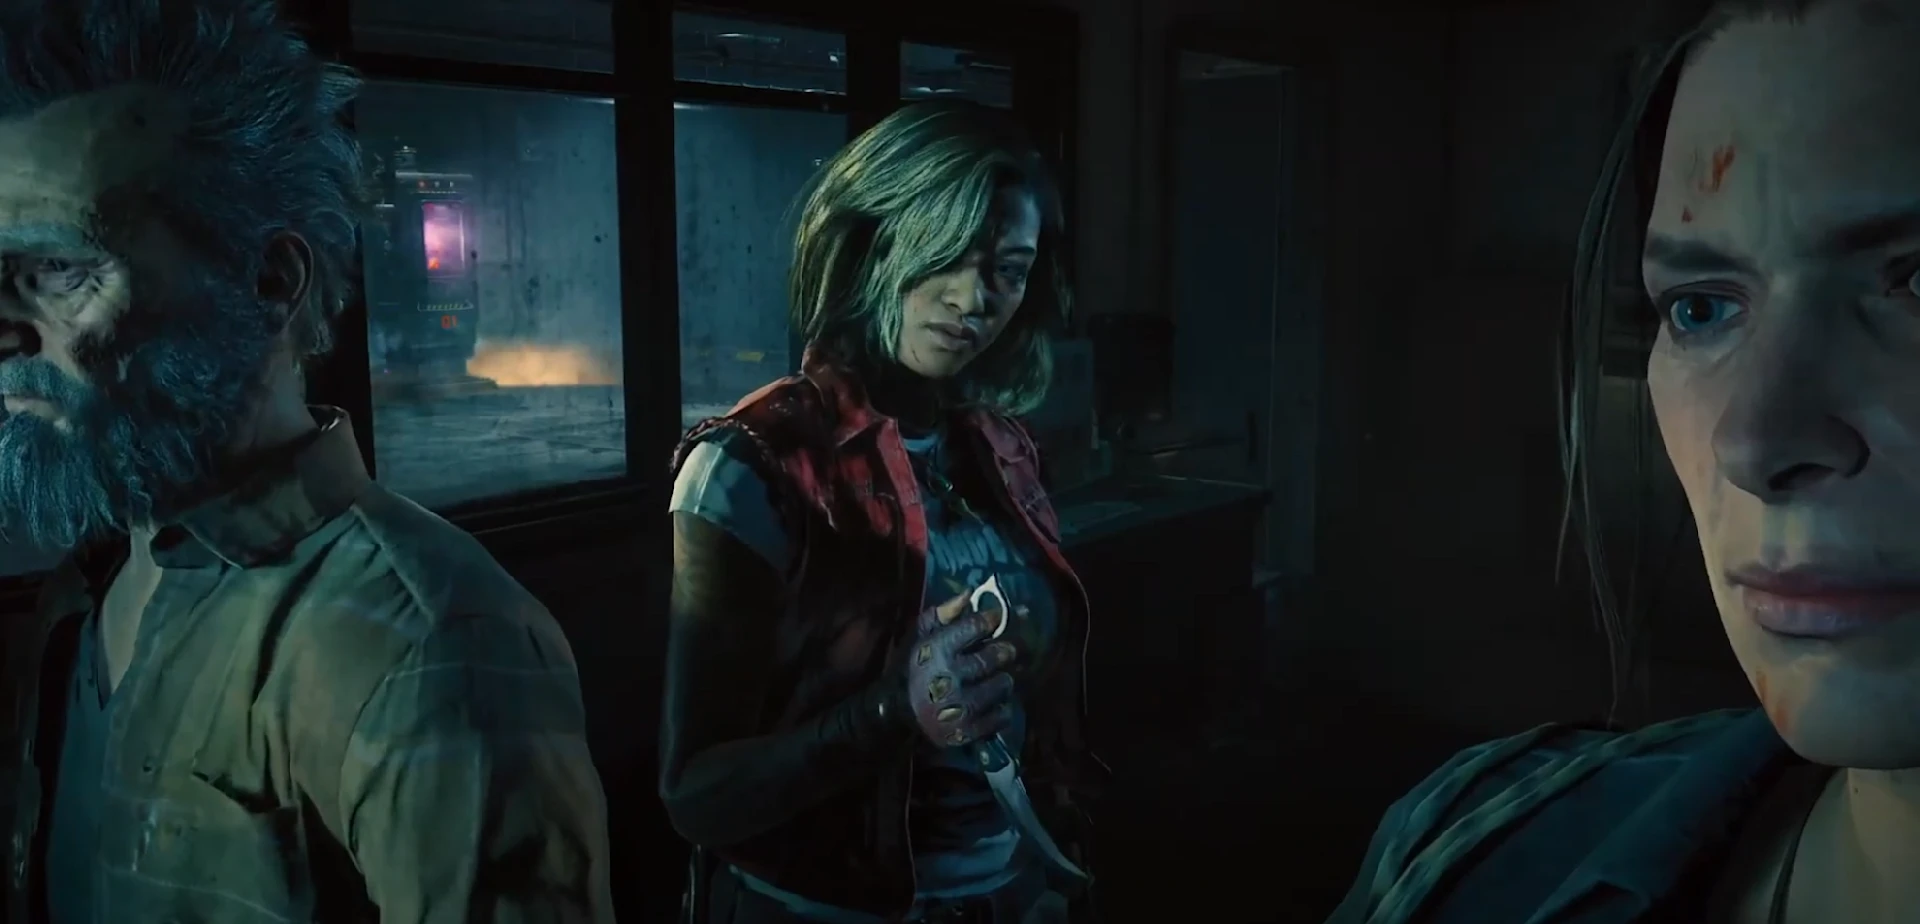
Defeating Patient 13 marks your mastery of the Terminus easter egg, earning you worthy rewards:
5,000 XP
Terminus Quest Complete Calling Card
For Maya players, the exclusive Trophy Collector Operator skin.
But beyond the rewards, you've completed one of the most challenging and well-crafted easter eggs in Call of Duty Zombies history.
Also check this out:

A completionist at heart, this Software Specialist is on a mission to catch 'em all. Connoisseur of comfy and easy to wear shorts.